I know you have been waiting for this for a long time. May I present the first 3D file of several that I have designed while working on my new website. The next design will come in a day or so.
I hope you will like it. You will find the file here.
I have put together some pictures on how to assemble it.

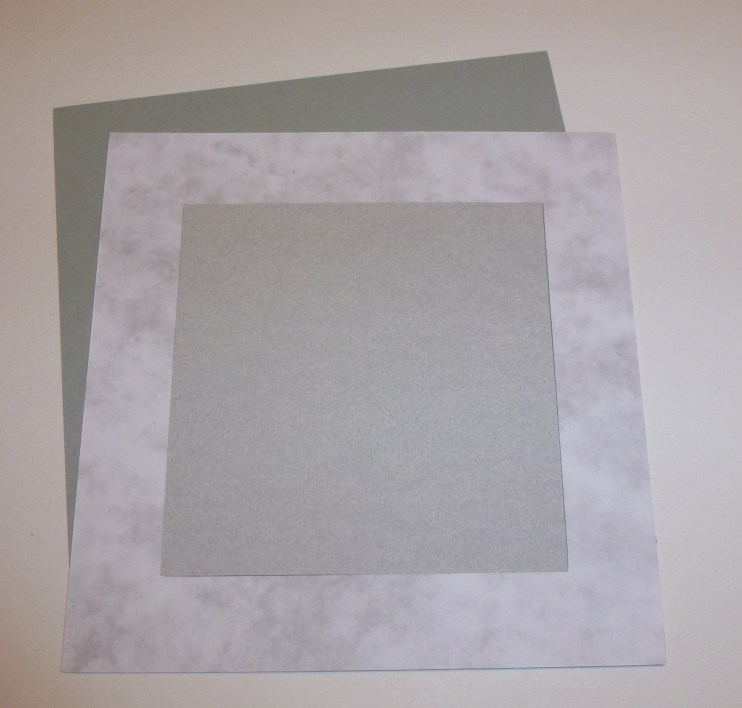
First I cut out all the parts.

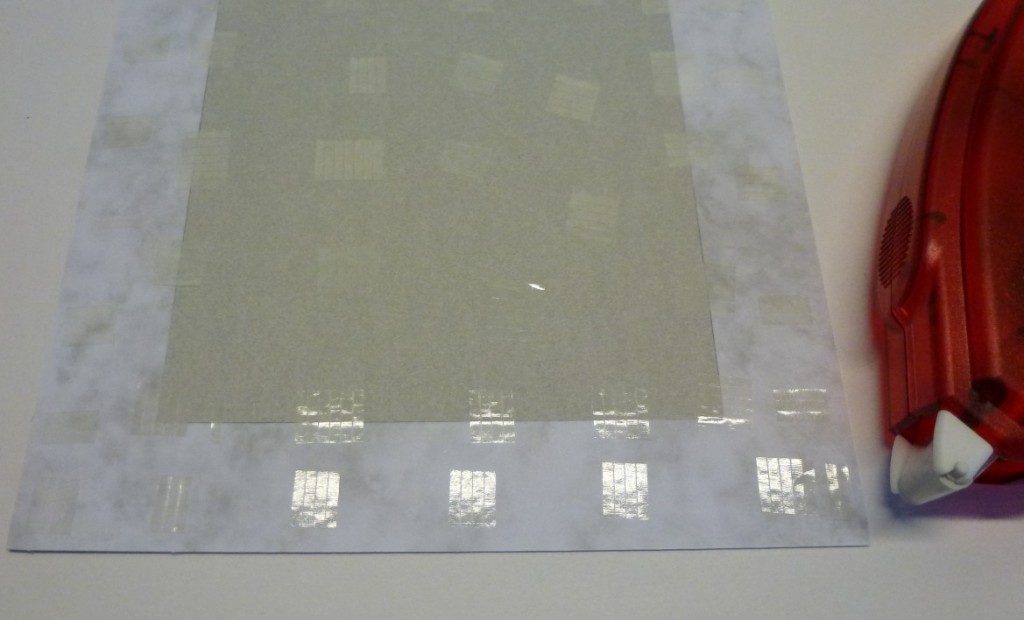
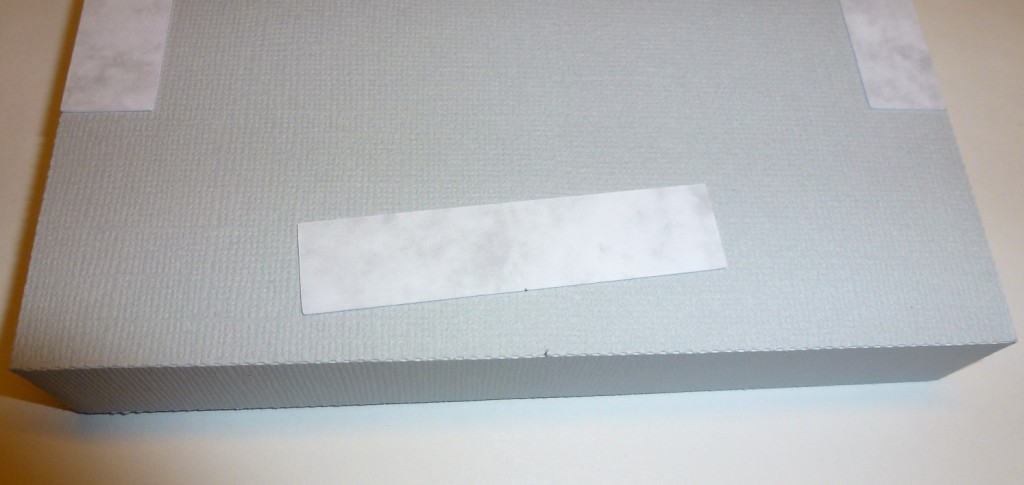
On the wall parts I put on double-sided tape on the tabs but not at the bottom tabs.
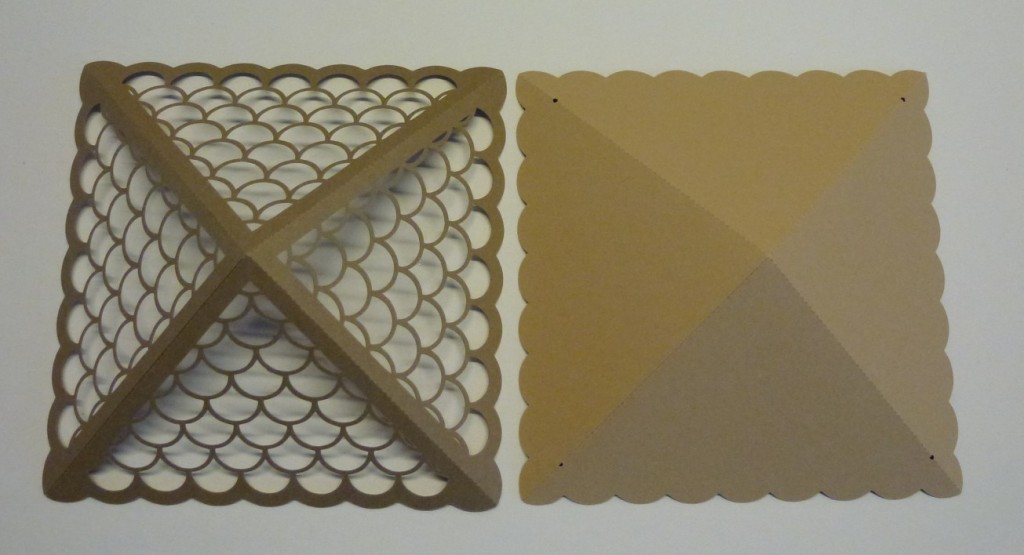
Glue the roof parts together.
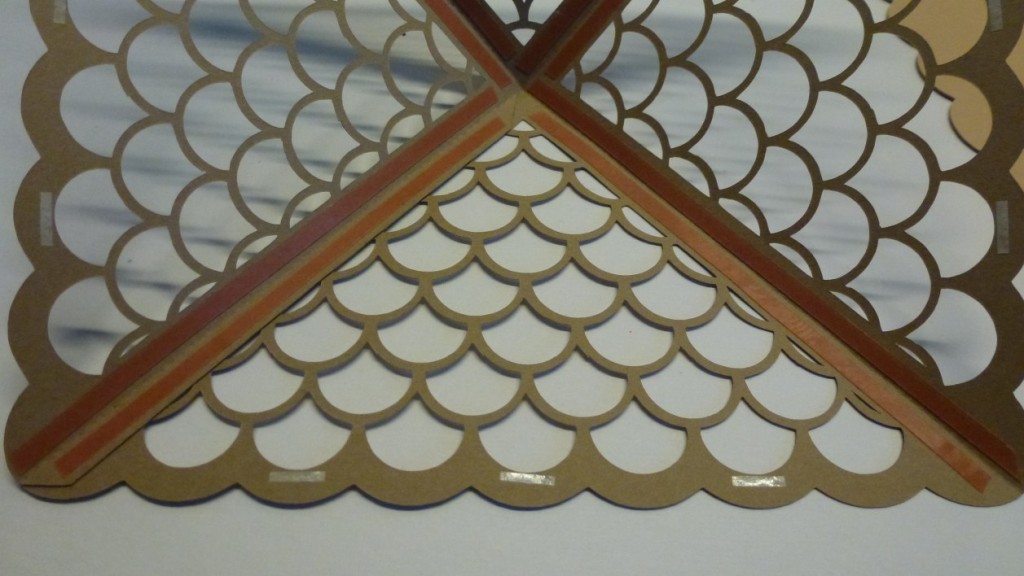
Put glue tape on the inside of the top part of the roof.
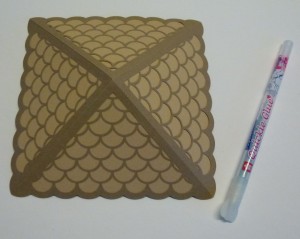
Use a glue pen to glue the thin parts down.
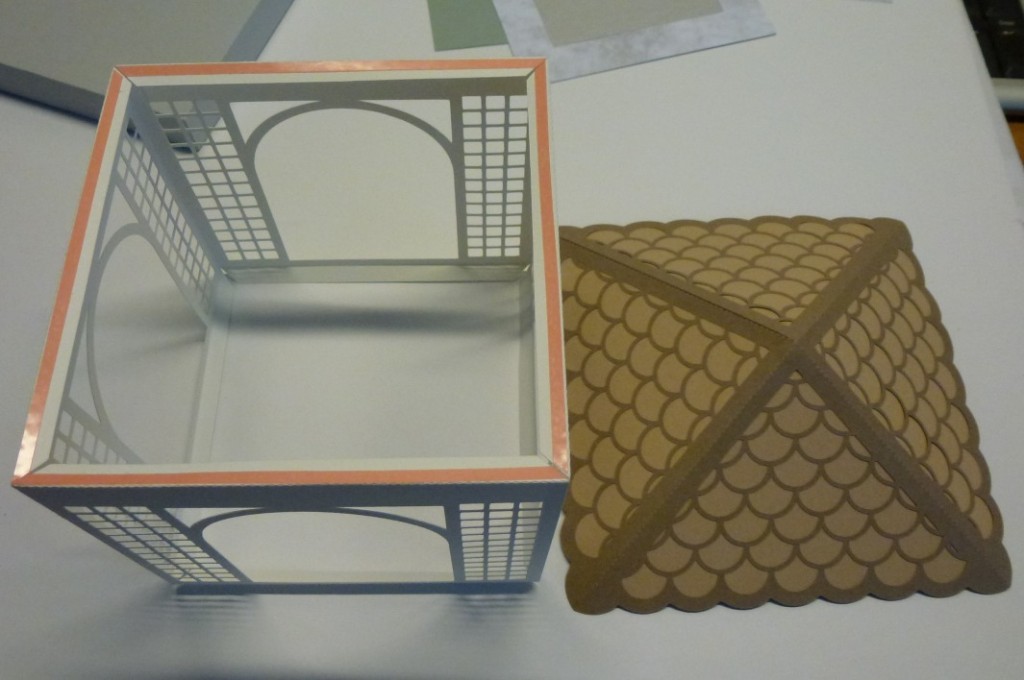
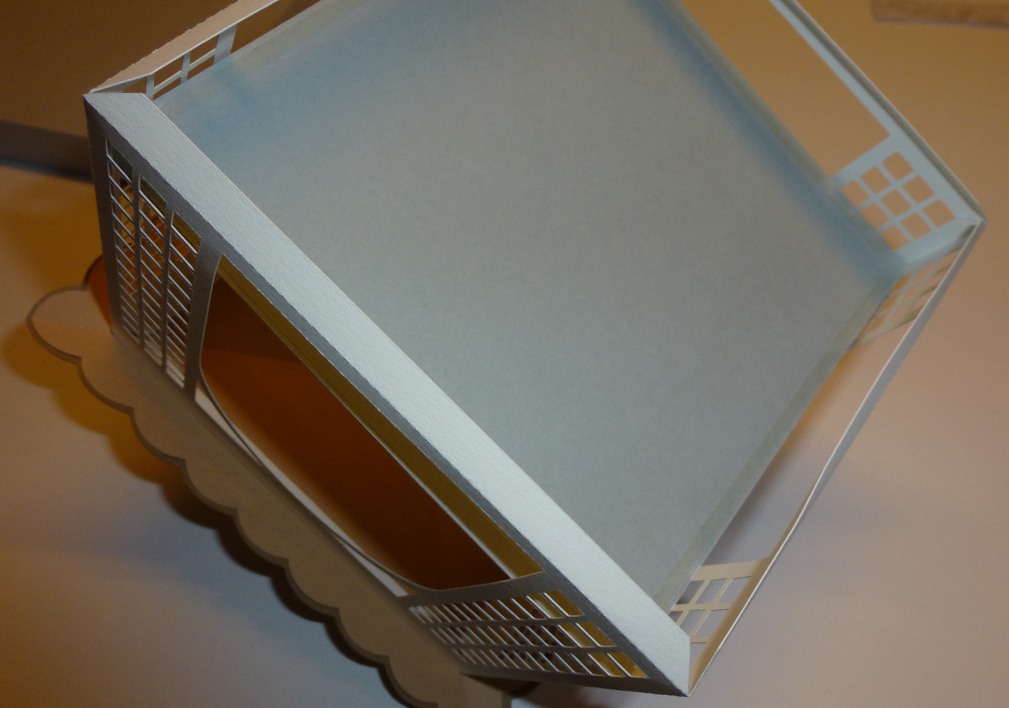
Put the wall parts together. Bend the top tabs of the wall part down and take of the protection film before you put the roof on.
On the roof part there is a tiny hole in each corner. This hole marks out where you should put the corners of the walls.
Now it’s time to glue the inner floor parts together.
I use my permanent E-Z Runner.

When the inner floor is glued together, turn it up side down and put glue tape on the edges.
Put the floor part inside the walls. Turn the gazebo upright and press down on the floor part.

Put glue tape on the base part and fold it together.
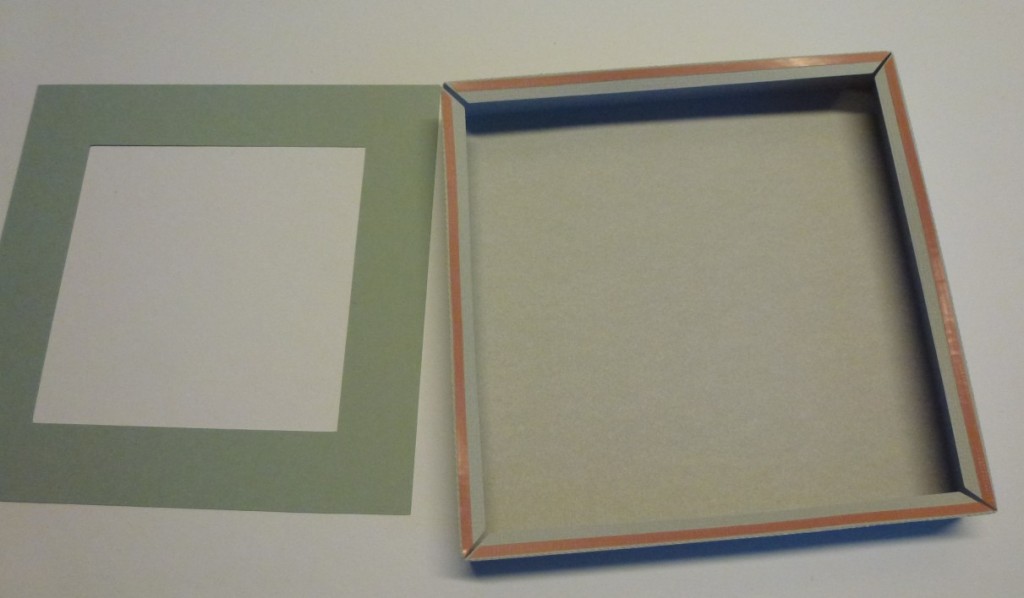
The frame part is to be glued next.
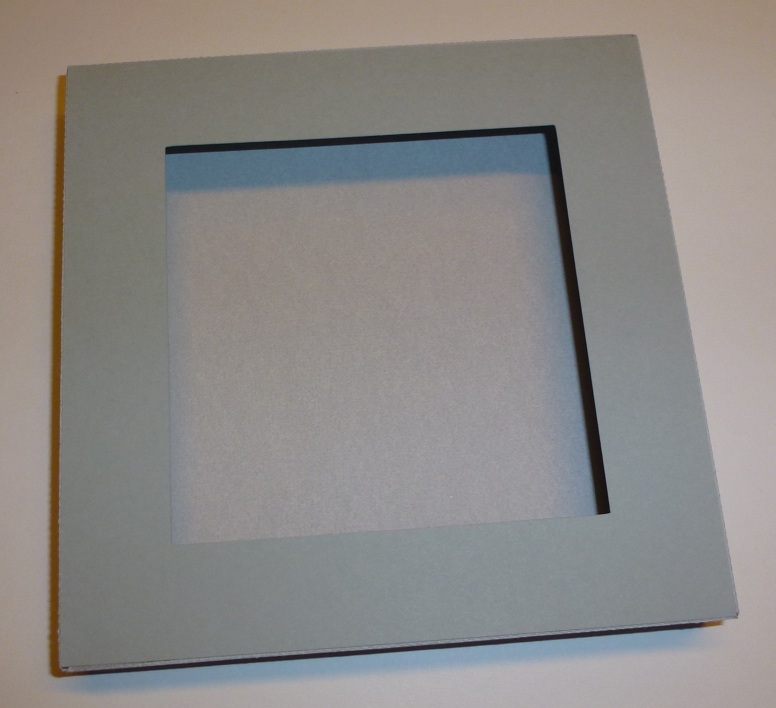
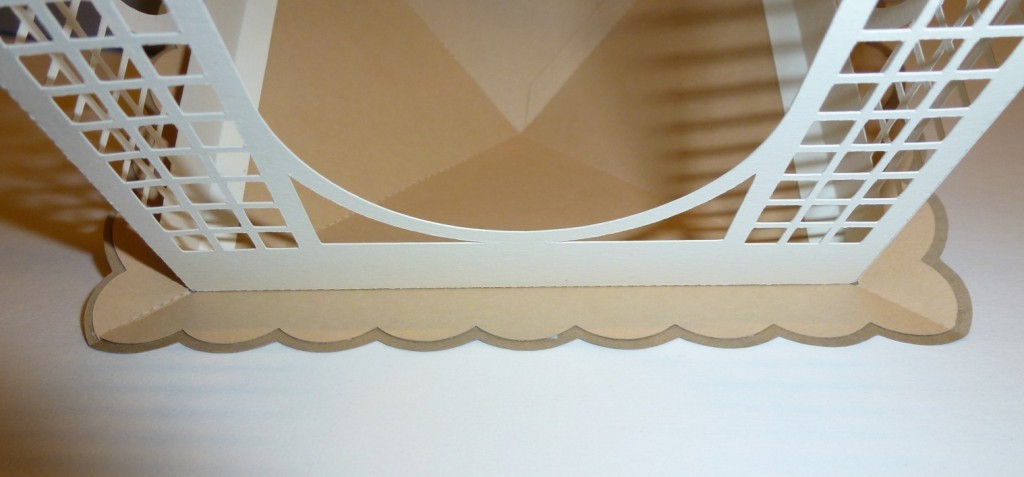
Now the base is ready. Turn it over so that the frame is pointing downward.
The rectangle bits are glued to the middle on the edges just as decoration. Now when the base is ready you just centre the gazebo on the base and glue it down.
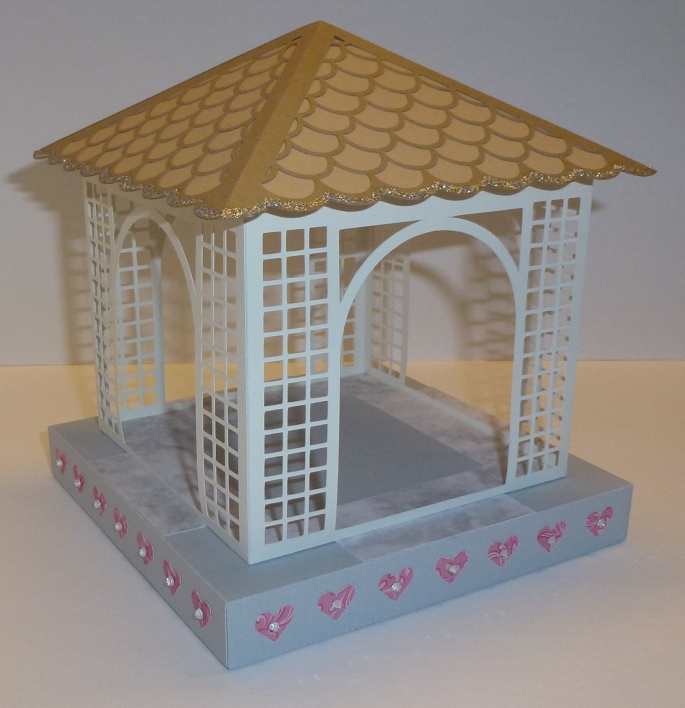
Here is the result. I have decorated it with some hearts and rhinestones on the base and the roof has got glitter on the edge.
Hi Monica, what a wonderfull project! the moment i saw the silhouette sd for the first time about 5 years ago i knew i wanted to have it one day but i never hed the money to buy it… When i saw your designs for the first time i was completely in love with them so i knew for sure i had te get a cutting machine…
I started saving some money and i have 60 euro now. Still a lot of money to save but i will have enough some day and the first designs i will cut out will be designs you made! Thnx for sharing!
Best regards,
Barbara Klaver
Monica your new website is great love the Gazebo thanks so very much for sharing
Beautiful design. Thanks for sharing.
Beautiful 🙂 Thanks for sharing 🙂
Your new website looks wonderful. You are extremely talented, extremely generous and your hardwork and effort is very much appreciated….Thank you so much for sharing your wonderful files 🙂
Love the new site, love the gazebos. Site so easy to navigate around and fab looking
I love your new site so crisp and fresh, so easy to look around,
This is sooooo beautiful!!!!
Thank you so much for the wonderful cut files. I can’t wait to play with them.
How do I make each piece proportionate to the other? Do I cut the files as is or do I make them the size I want? Not sure how to go about this whole thing! LOL!
Hi Tina, all parts are drawn to fit together. If you want to change the size you have to select all parts of the design at the same time to keep the proportions. Then you can make it bigger or smaller. To change each part separately will do that they will not fit together.