Some years ago i bought a mould for casting bench legs. Since I didn’t know how to attach the top planks, I never got around to use it.
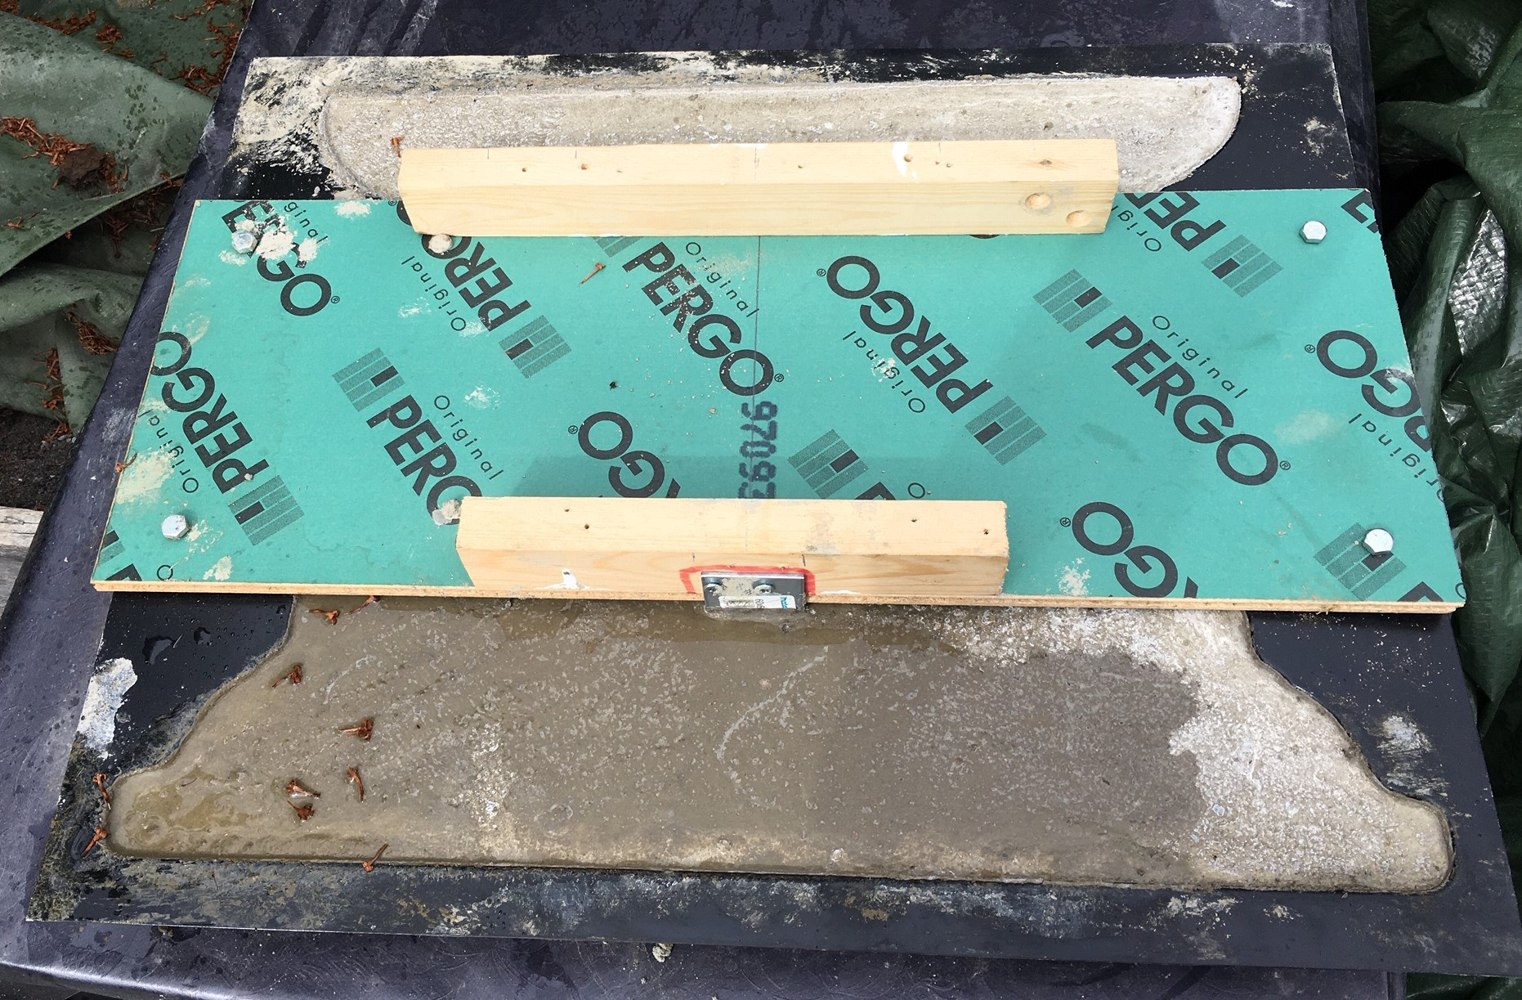
Now I wanted to do something about this. I bought some angle brackets that I was going to cast into the bench legs. I also needed to make a support for the brackets to get them in the right position when casting. I used some left over materials for this.


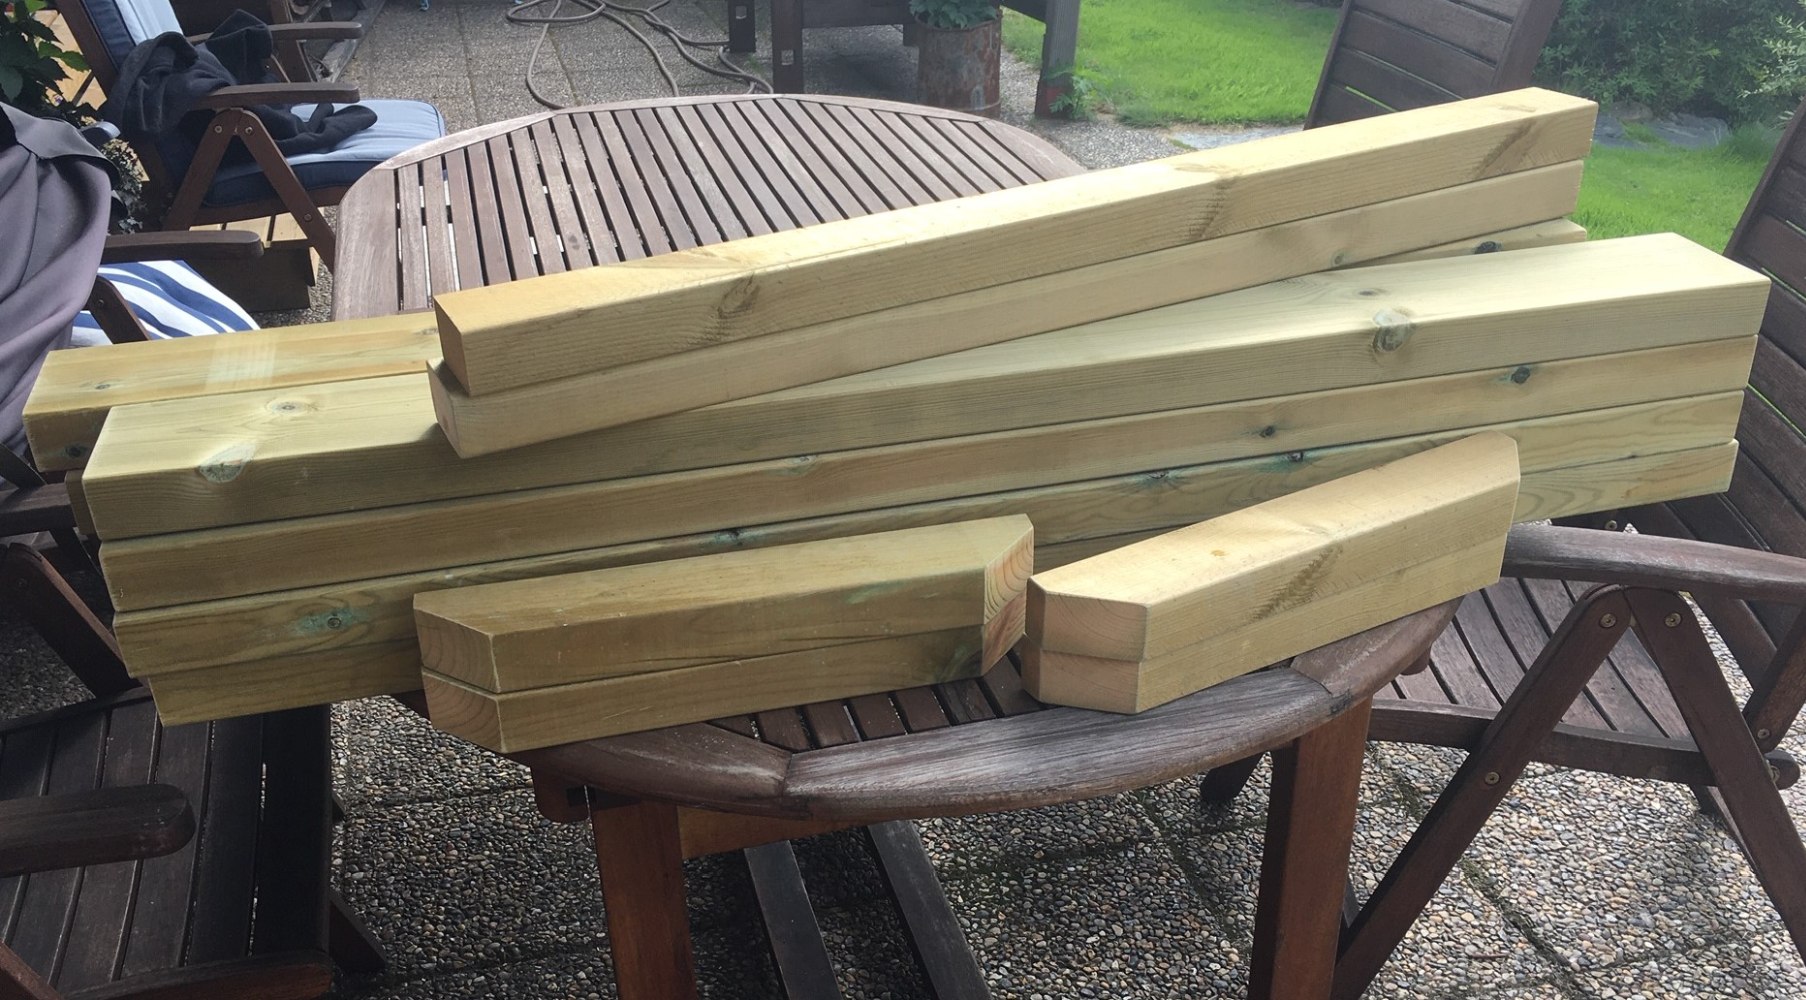
I casted four bench legs and it went just fine. Now to the fun part, the assembling of the bench! For this I had bought some pressure impregnated wood for the top and cut it into the dimensions I wanted.
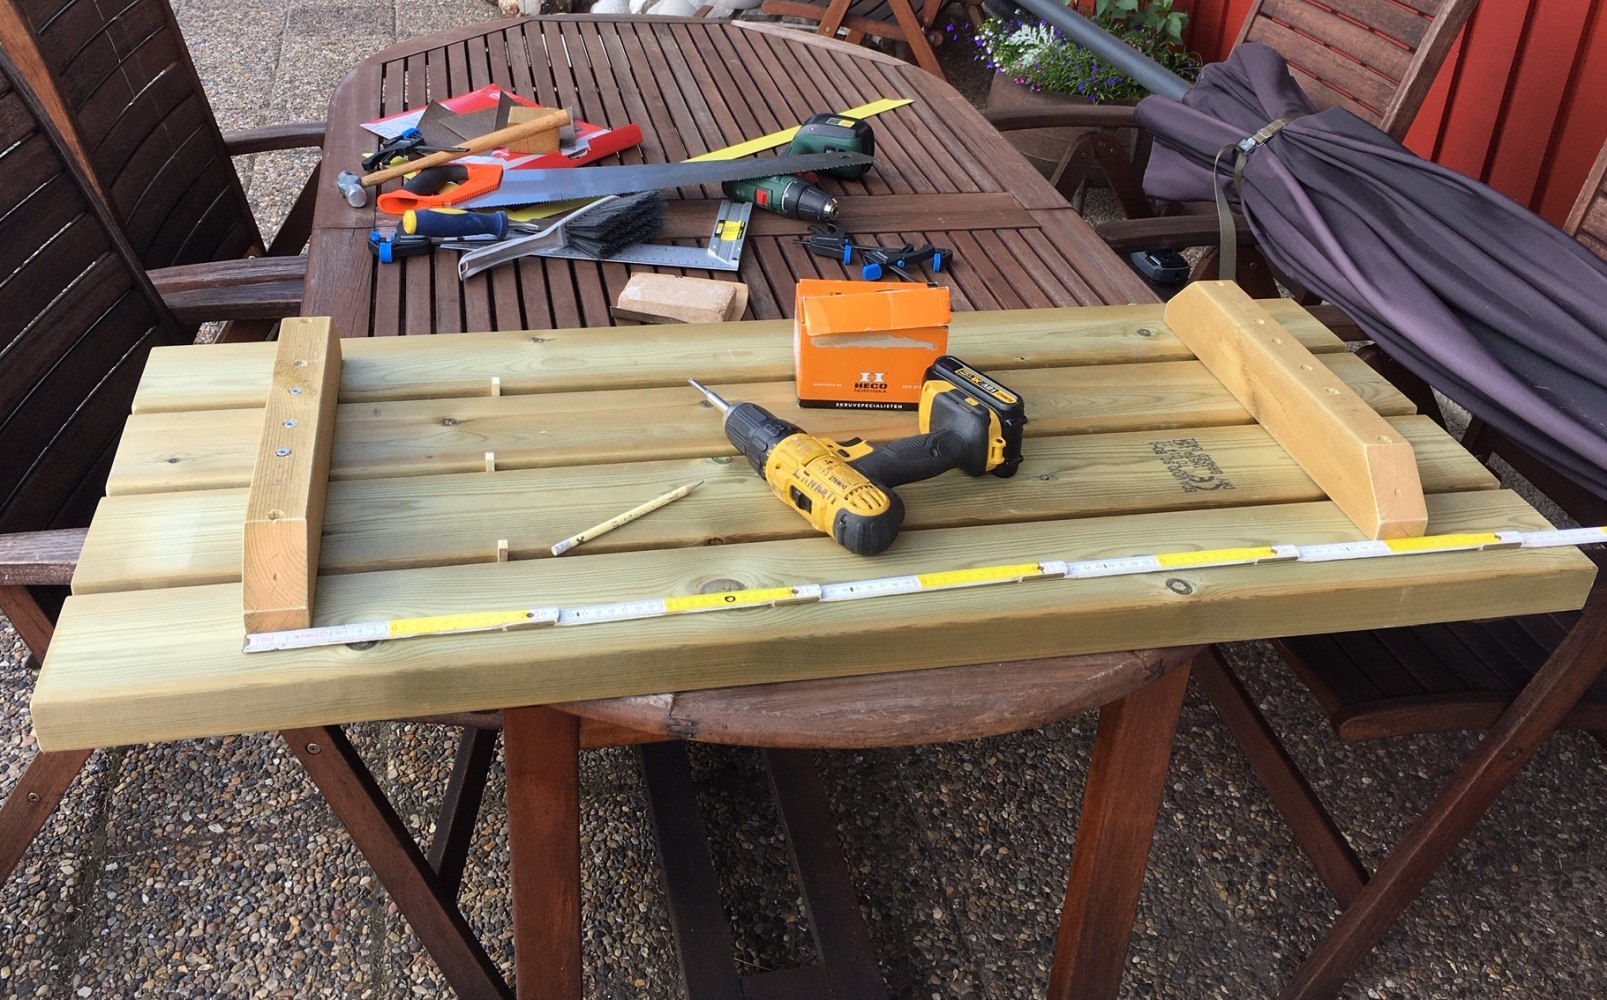
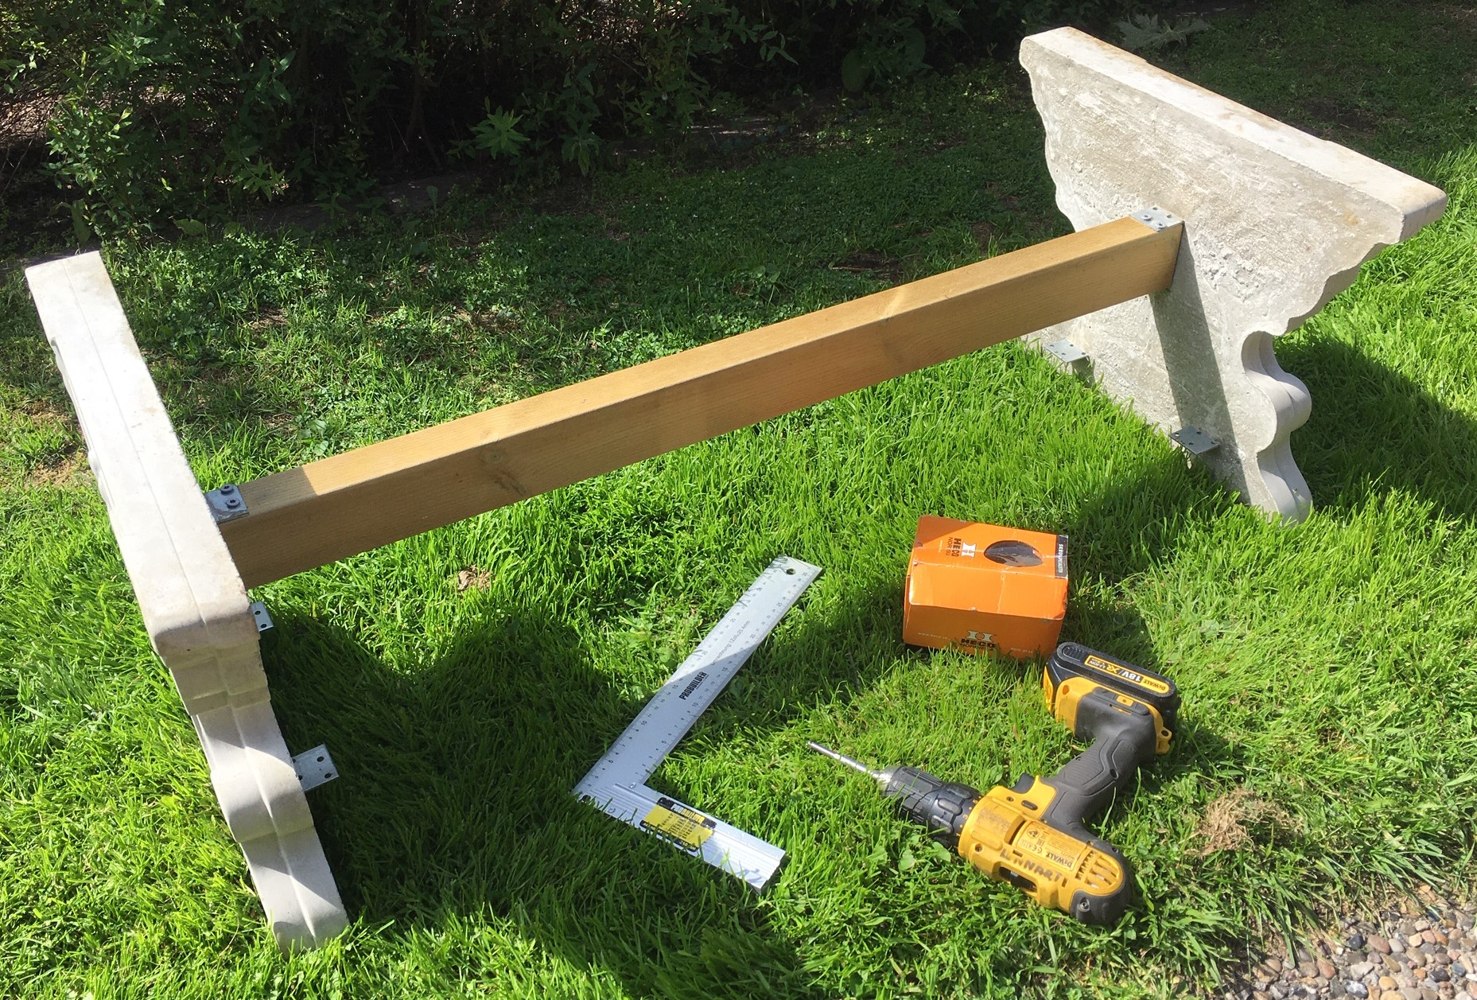
Before I screwed the top part on the legs, I mounted a reinforcement between them. Here it is up side down so I could put the screws in.
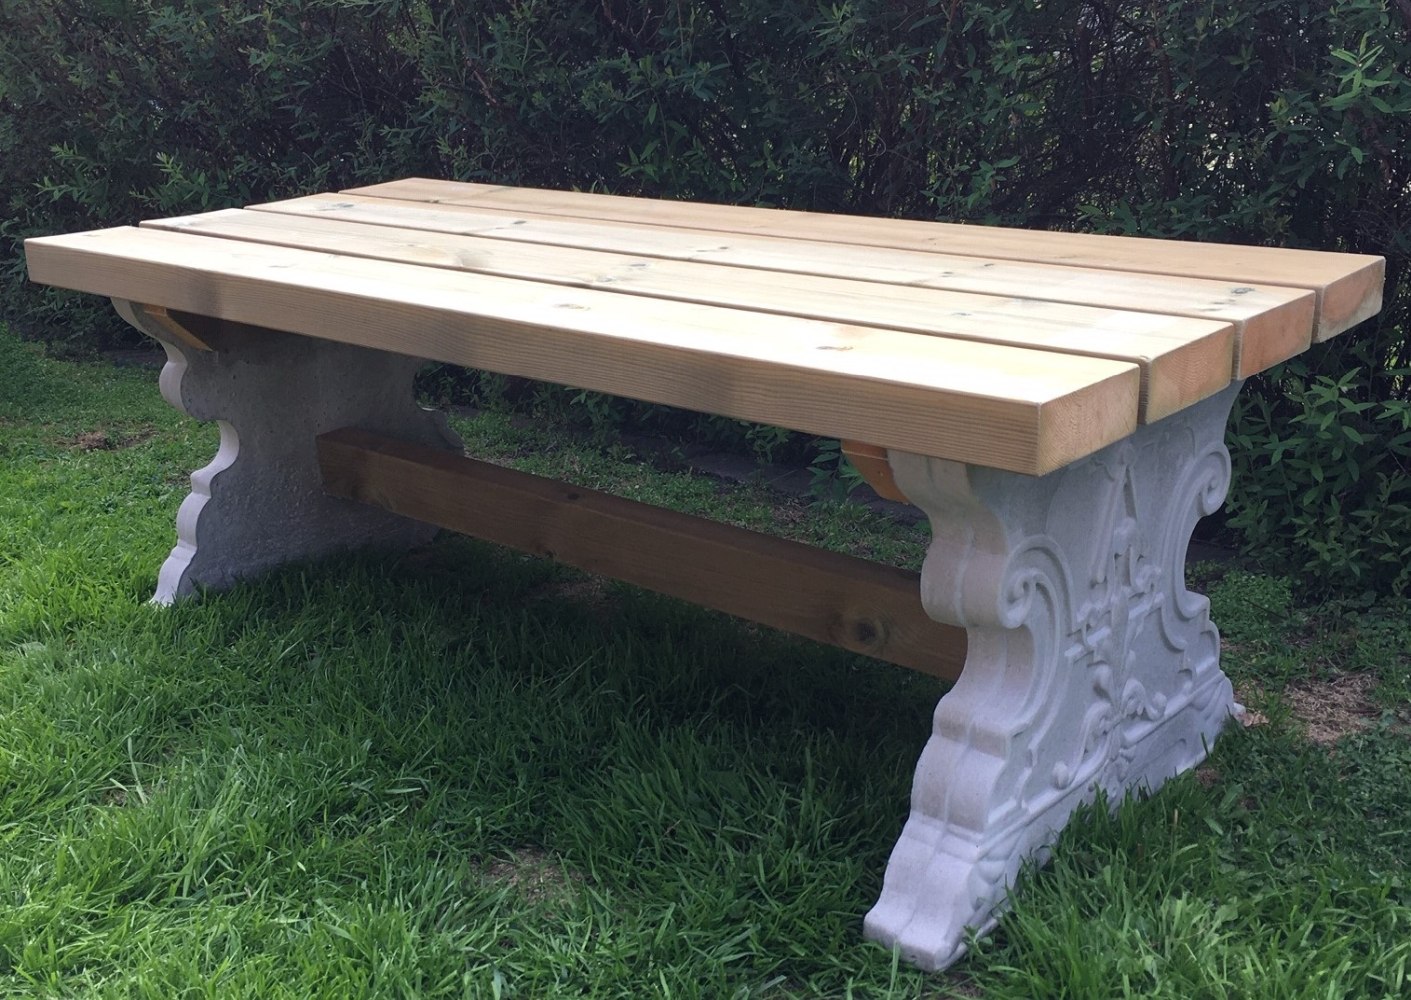
And here is the two finished garden benches. Aren’t they gorgeous!

I think I will make more of these next summer!
/Monica
They turned out beautiful!
They look great! I love them ❤