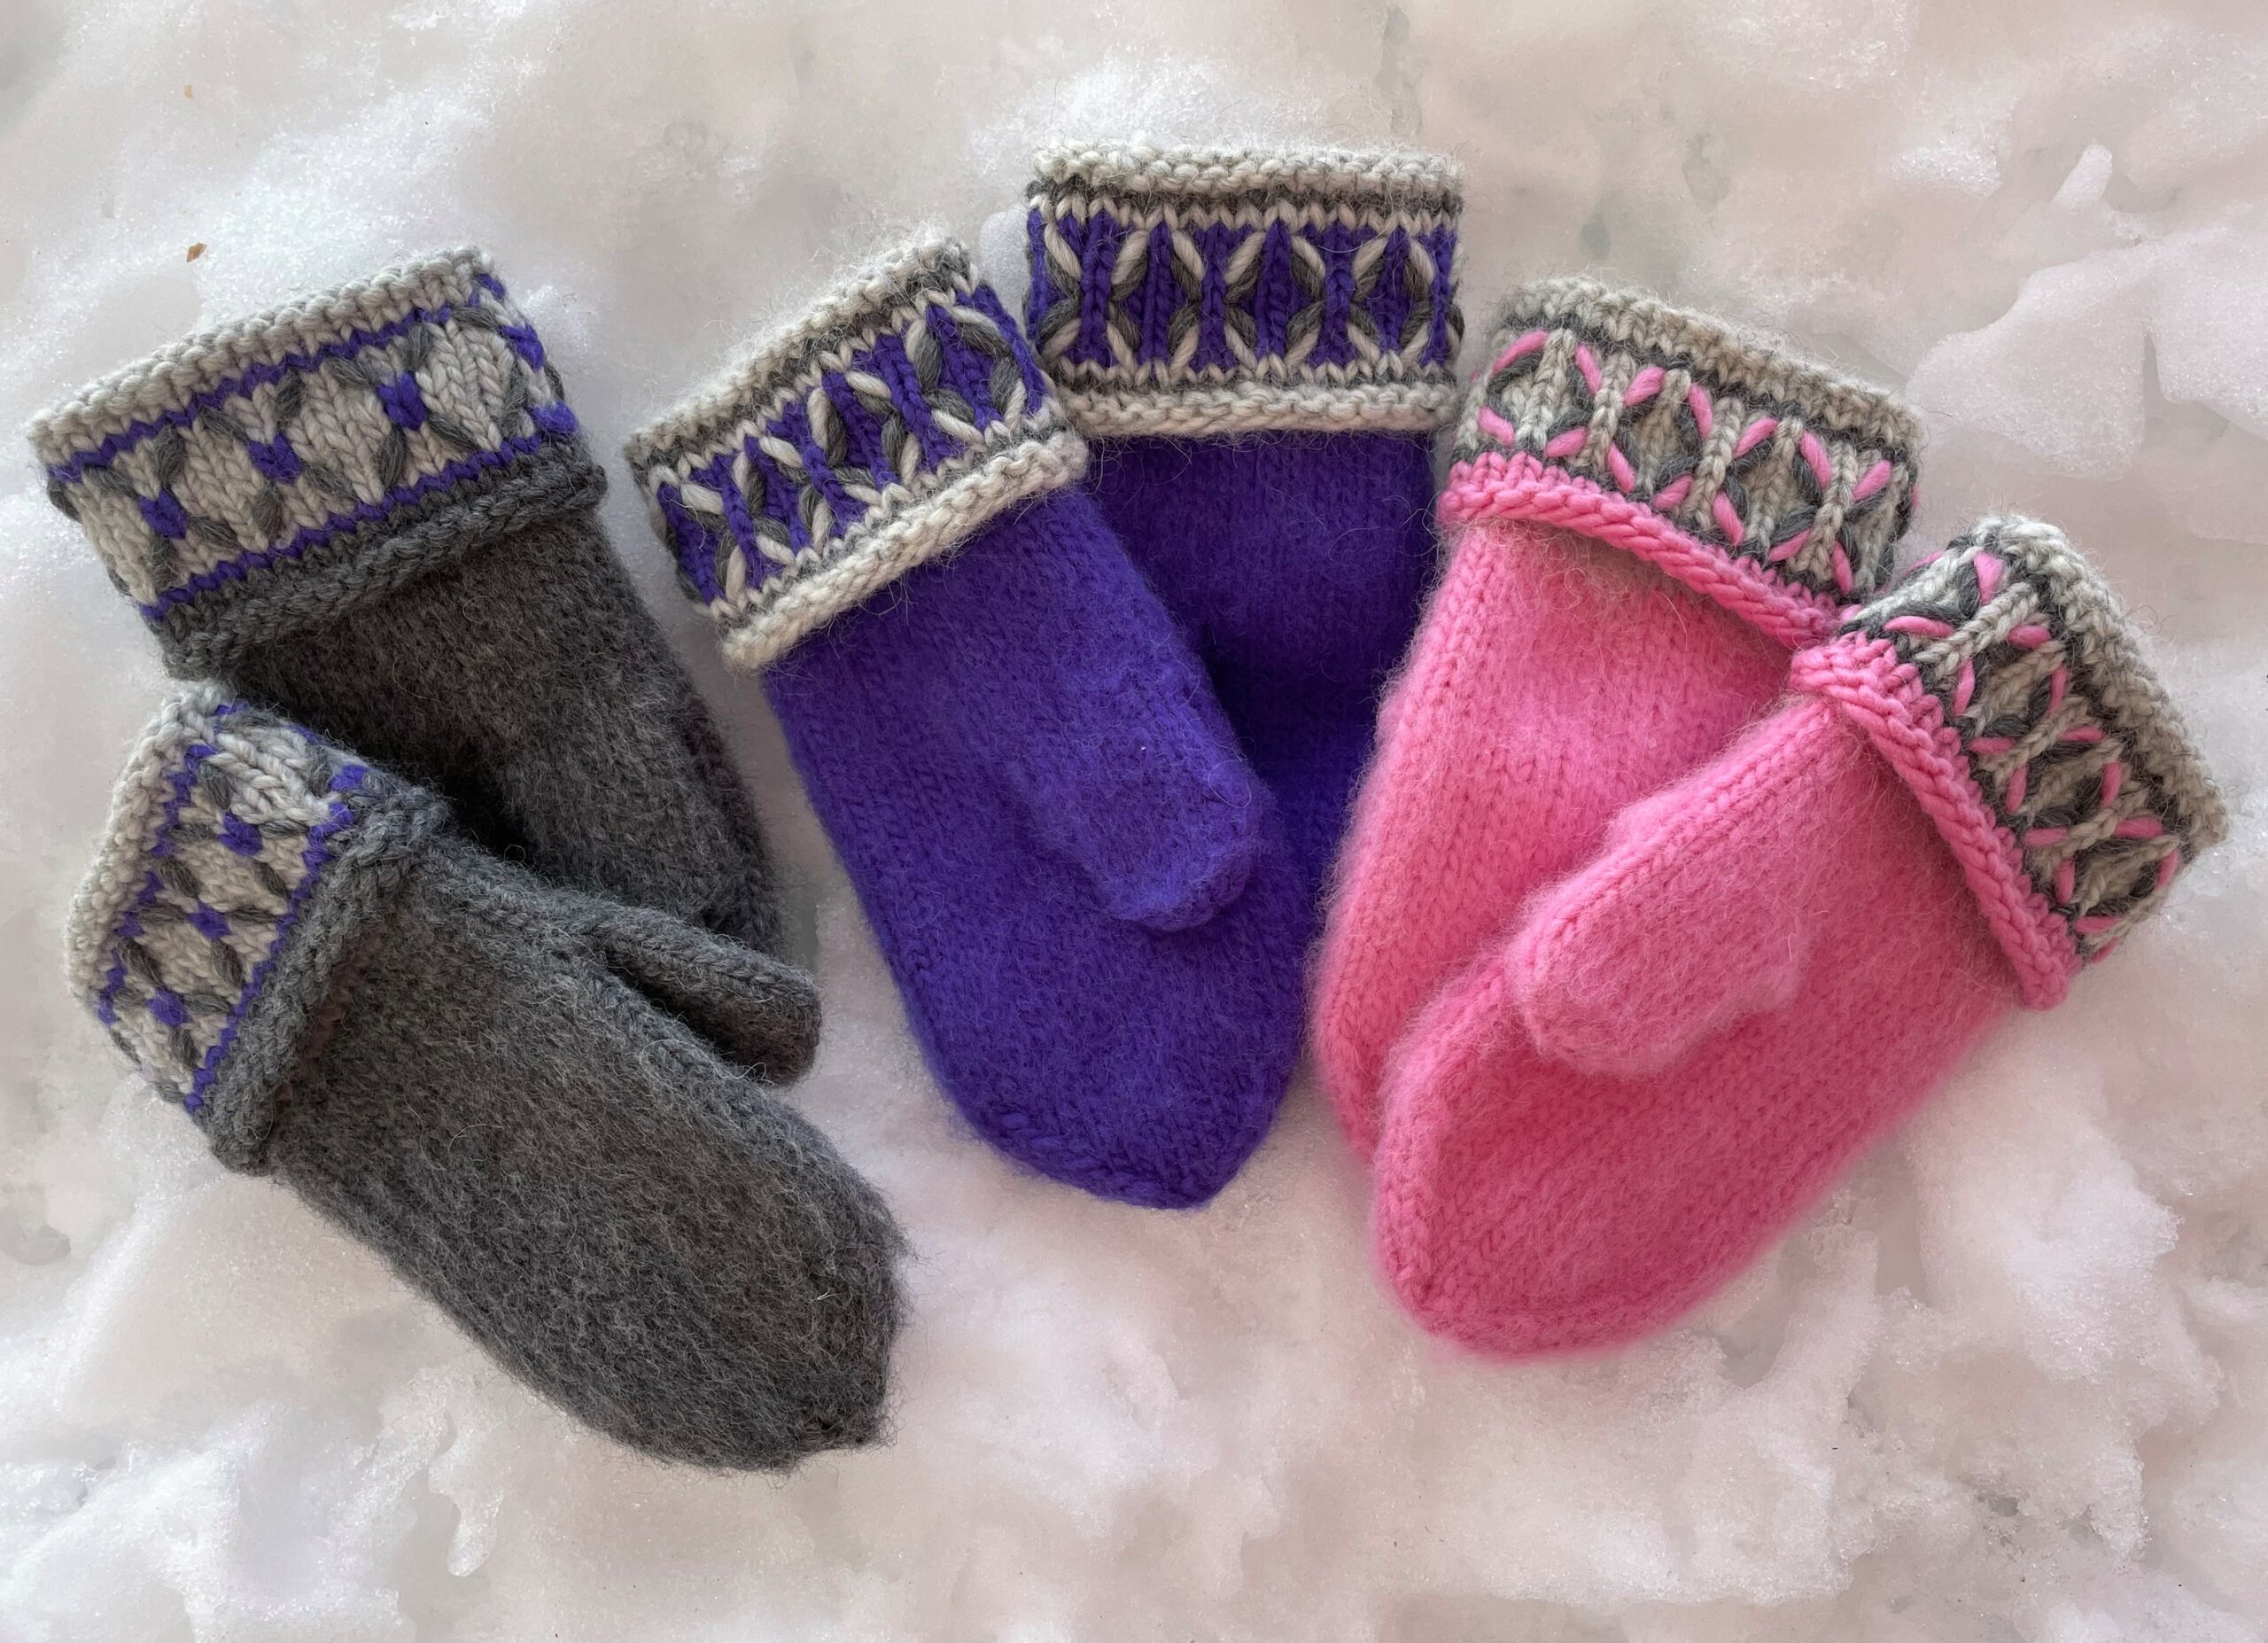
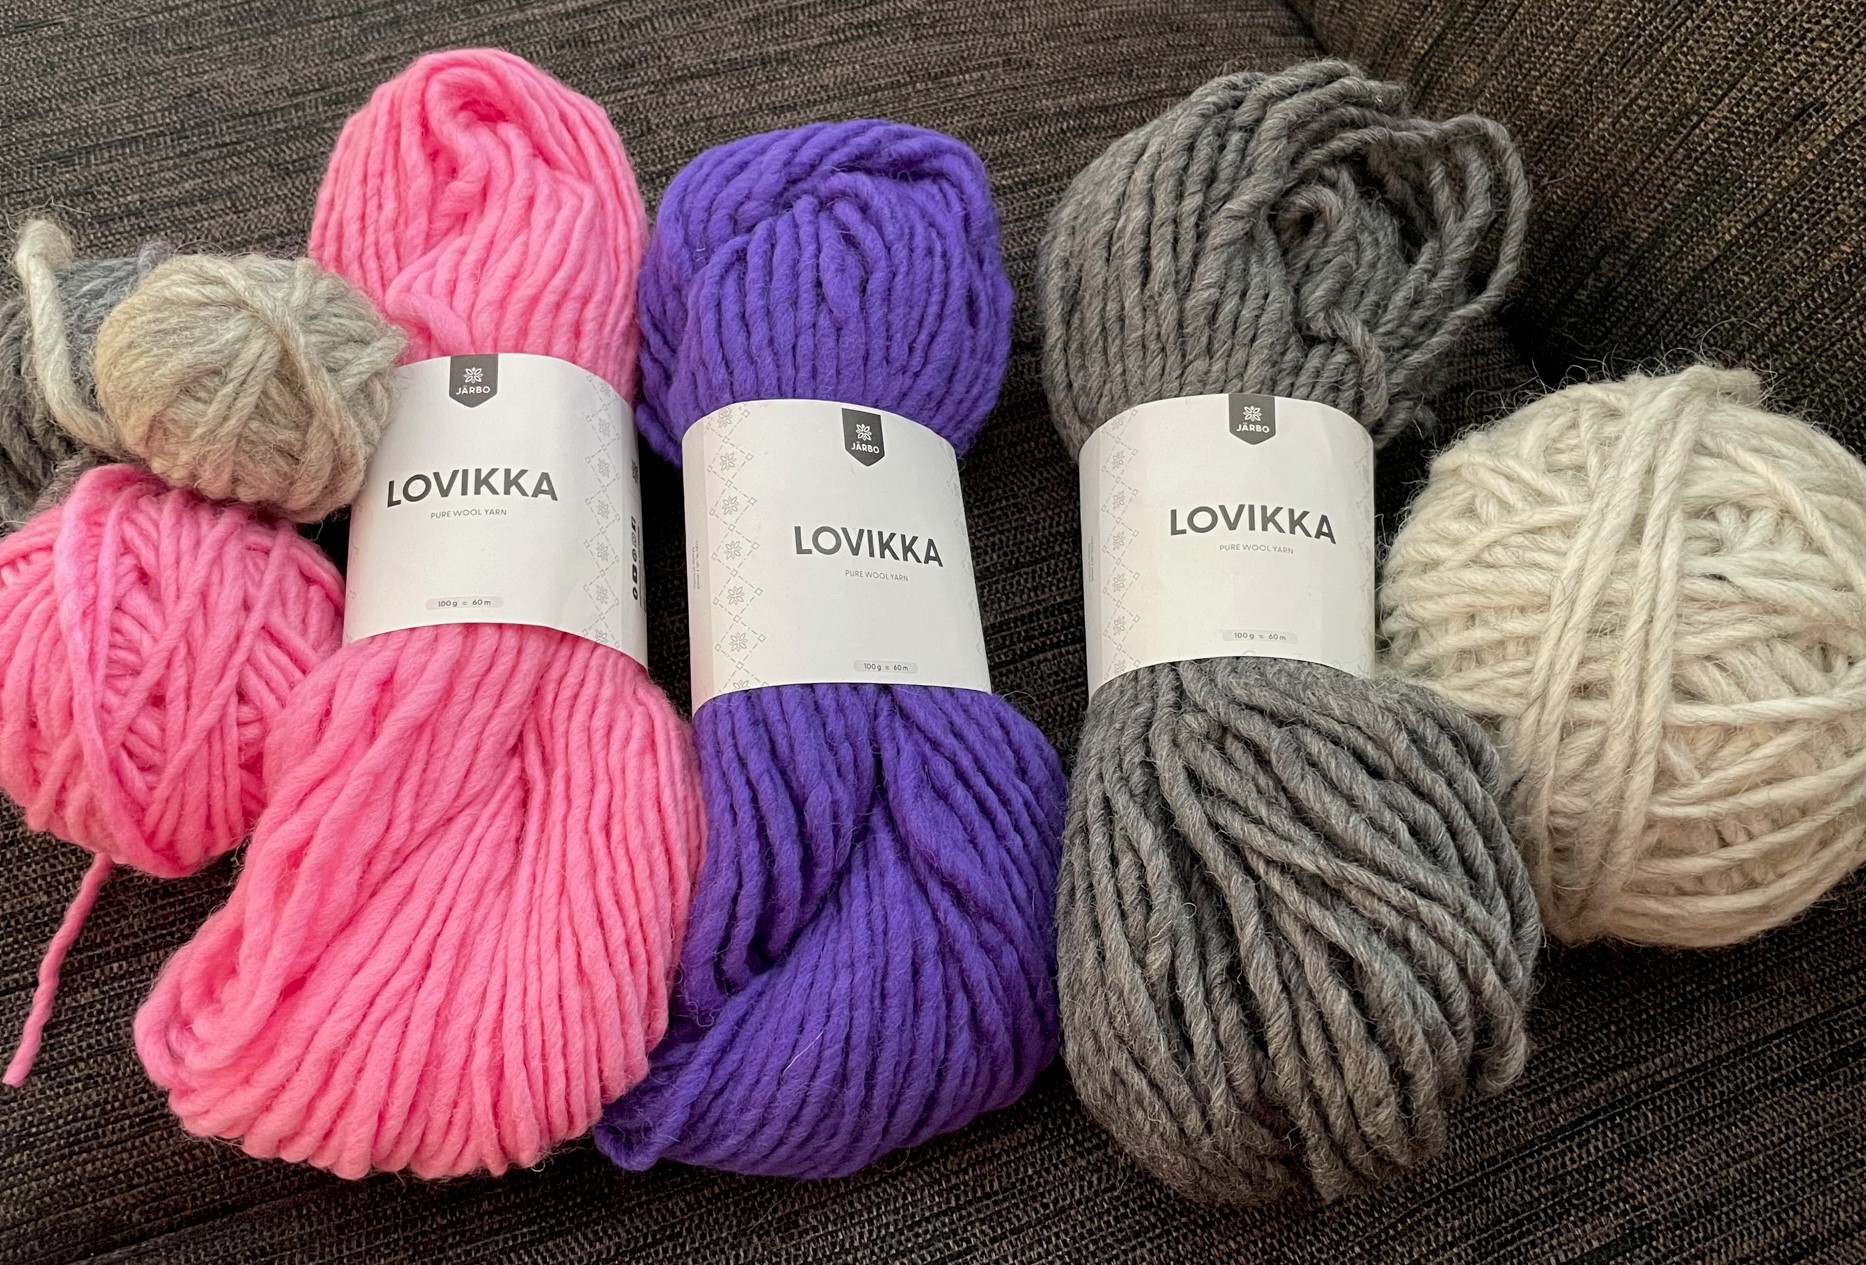
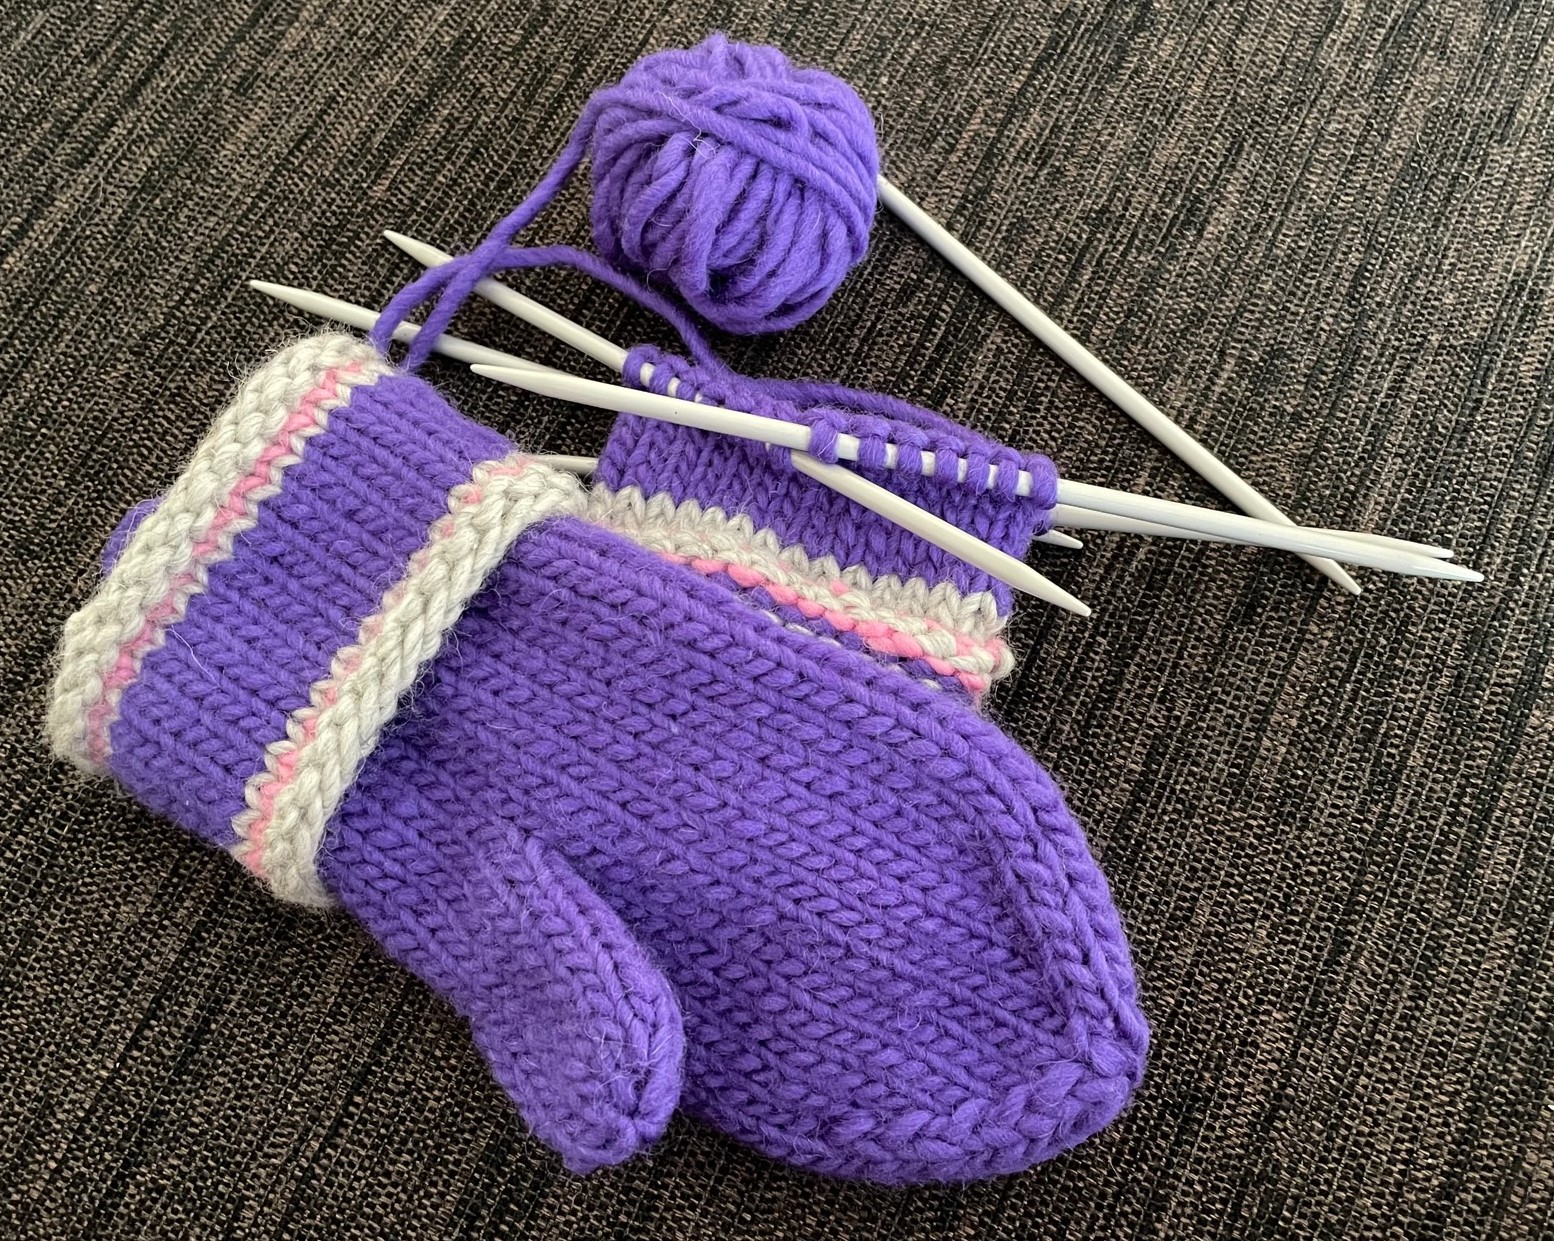
I’ve started knitting Lovikka mittens, and it’s so much fun! The design was created in 1892 in the village of Lovikka (not so far from where I live, it takes about three hours to go there by car). The Lovikka mitten has a double collar and a pattern border embroidered at the wrist, often with different coloured crosses. They also usually have a braided cord with a tassel, but I have skipped that part.The Lovikka yarn is a soft thick loosely spun wool yarn.
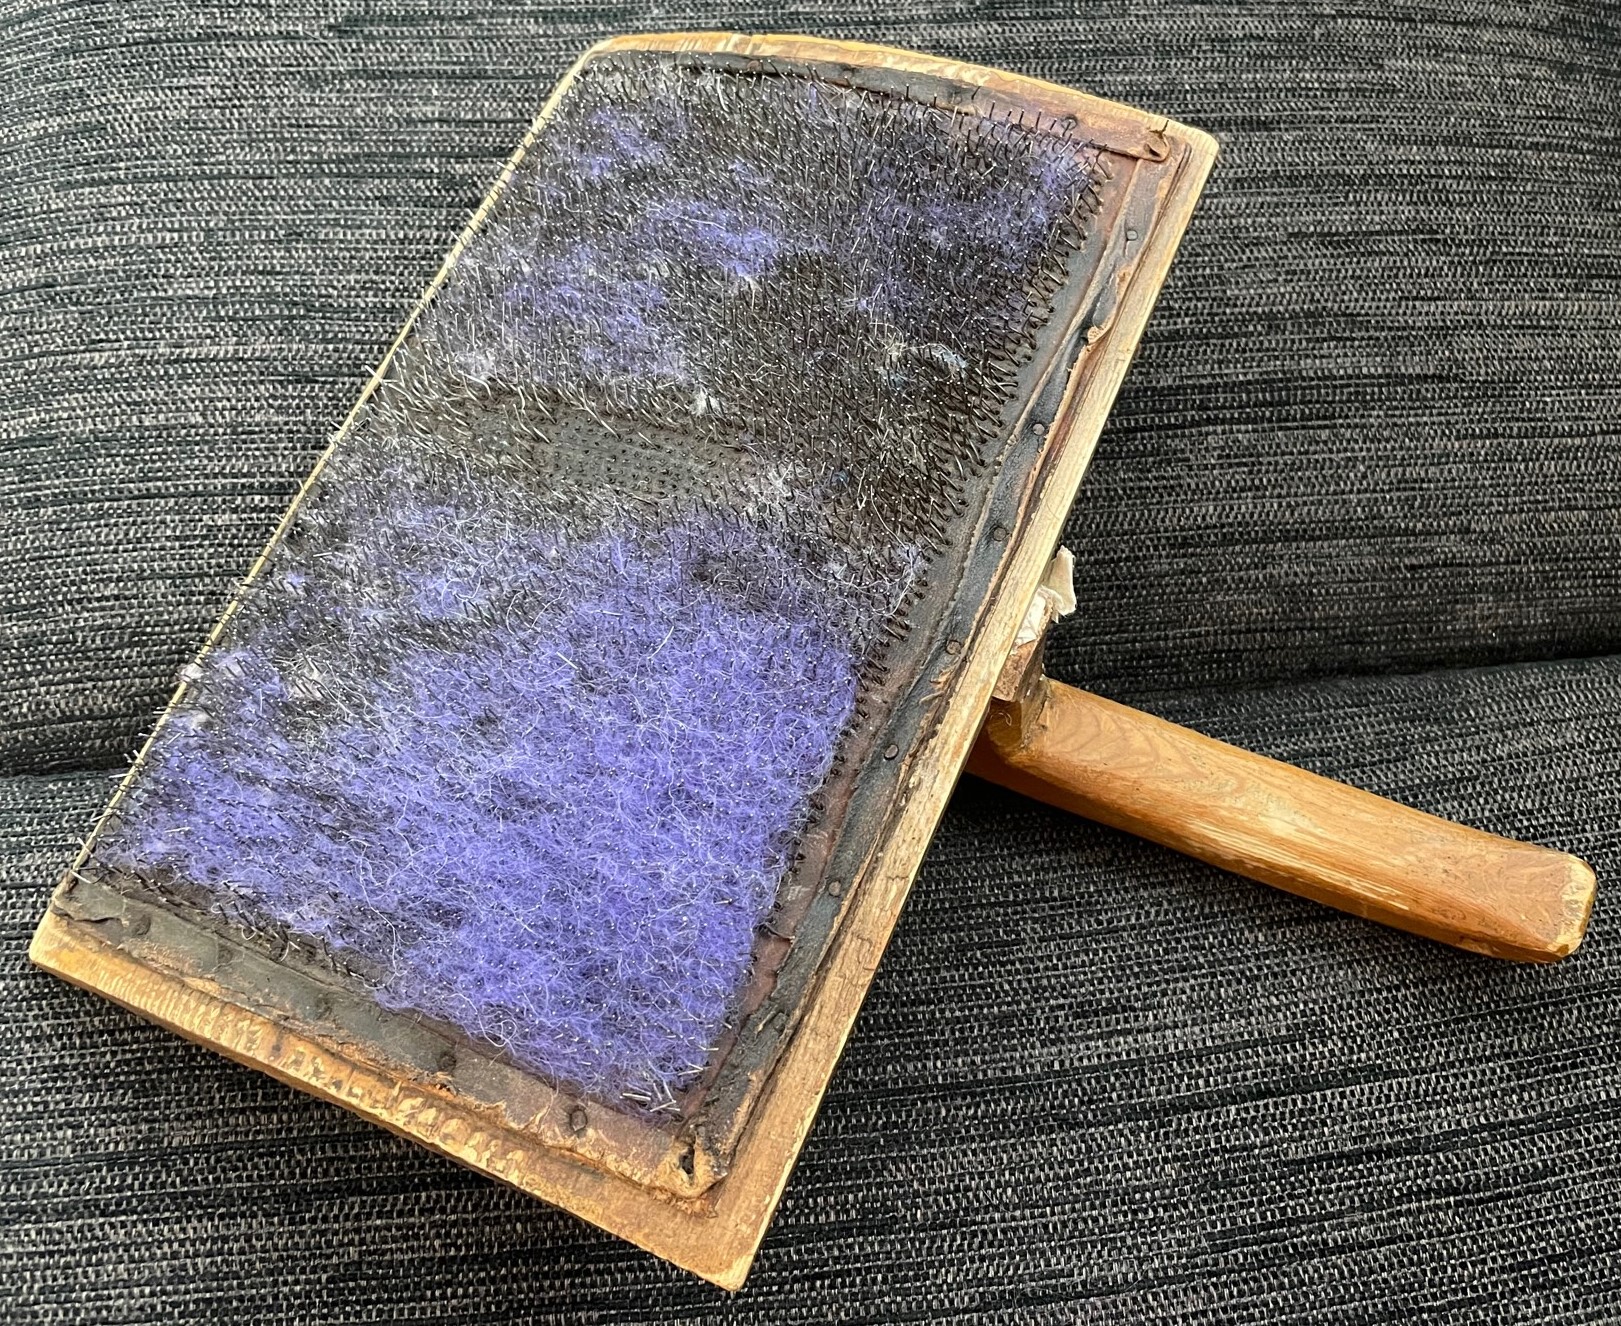
I have an old antique wool carder I use to brush the mittens with. The mittens become so soft and nice after a soapy wash and carding. I also card the inside.
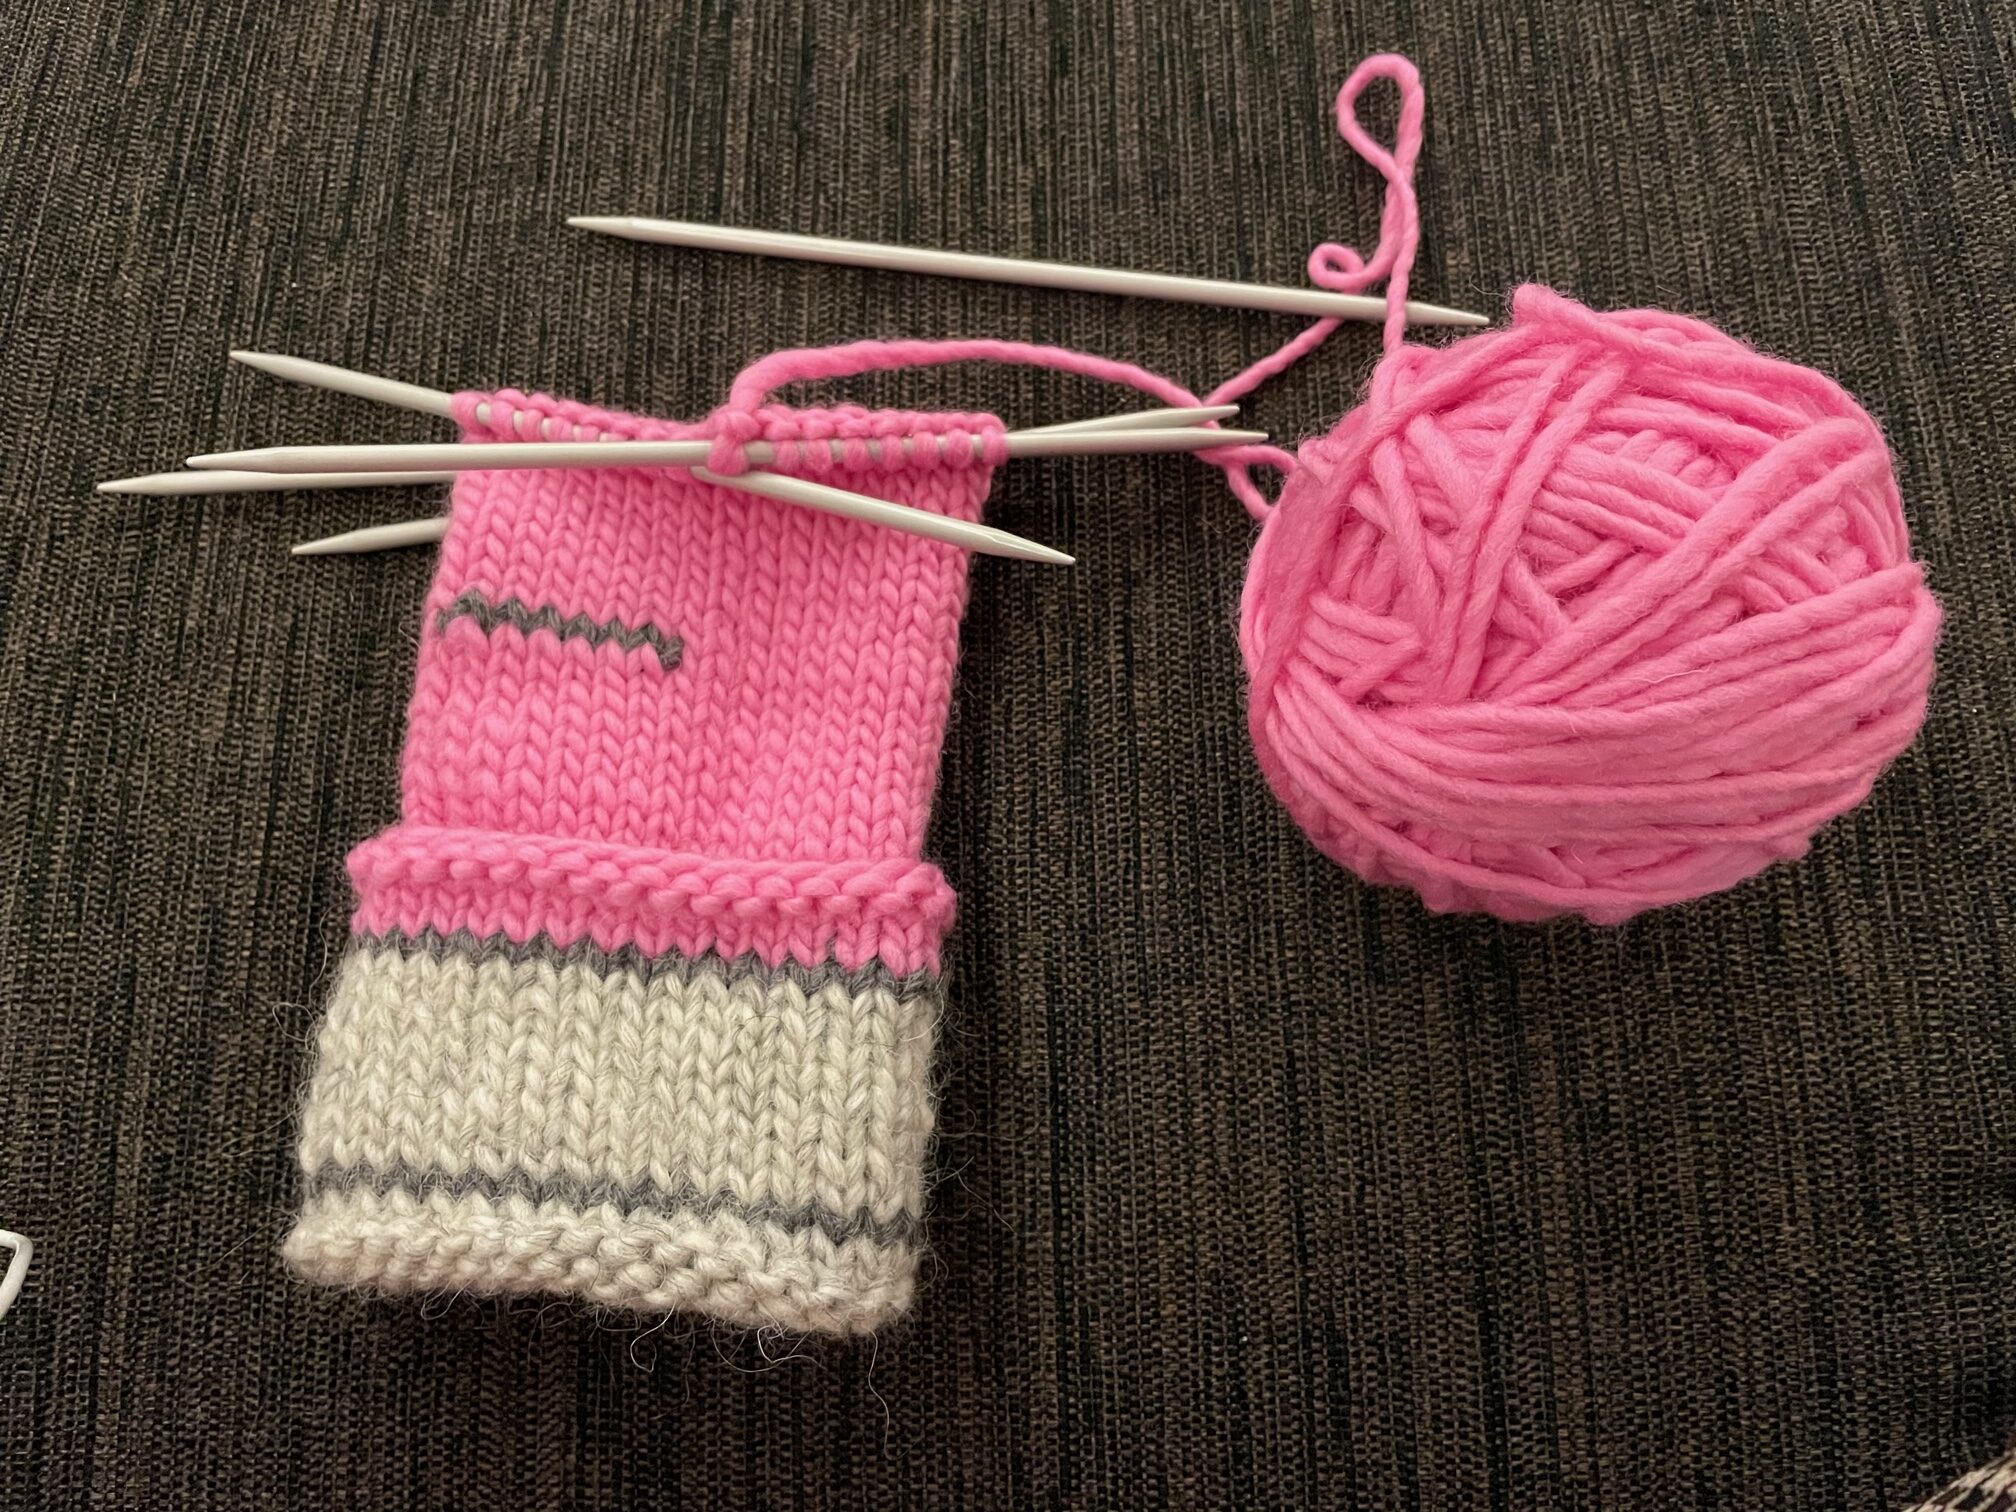
I’ve knitted three pairs in women’s size and right now I’m working on a smaller pair. I’m going to knit two pairs in men’s size as well, but I’m waiting for more yarn to arrive.
/Monica