Category: General Posts

Some new lattice patterns

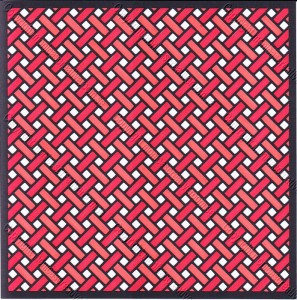
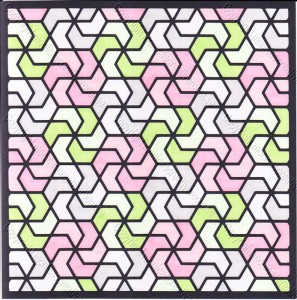
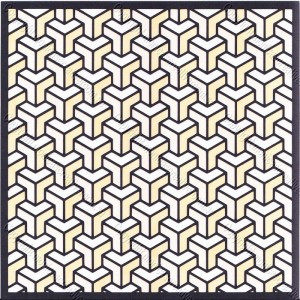
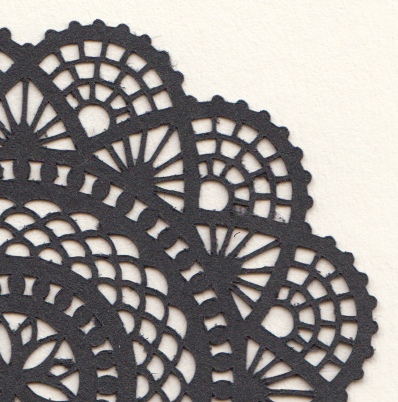
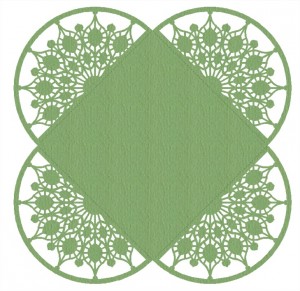
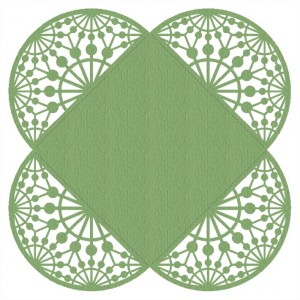
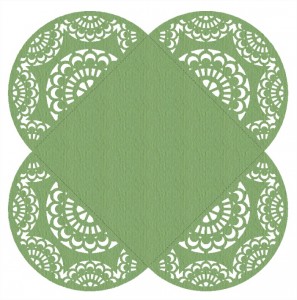
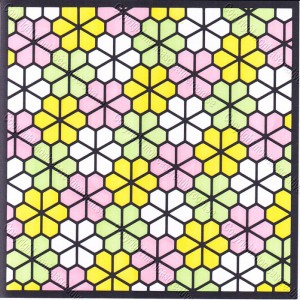
I really like geometric patterns and had to make some more lattice work. I cut them out in black cardstock and then glue them on a white plain cardstock. I did only put glue on the outer frame, this was enough to keep the lattice down for me. Then I coloured them with my Promakers (that I hardly ever use). It was really fun and easy to fill in the colours. You can choose whether you want to colour them or not.

You can find the new lattice patterns here. (The pictures do not have the coloured areas)

/Monica

Lattice_31_cut Lattice_32_cut Lattice_33_cut Lattice_34_cut

1 Comment

Who needs more cards?

I just can’t stop making these.

But one can never have too many cards, right?

You can find the new cards here.

/Monica

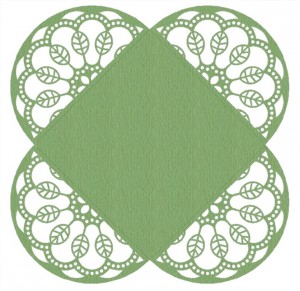
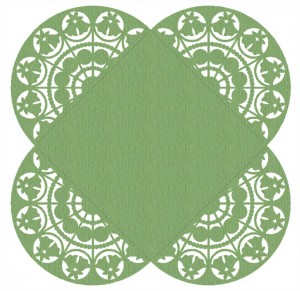
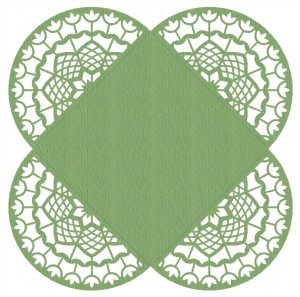
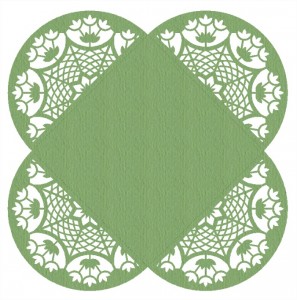
Fancy_Edge_Card_11-14


3 Comments

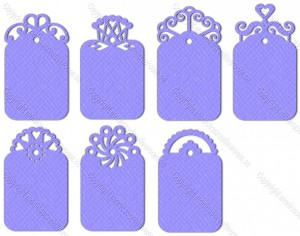
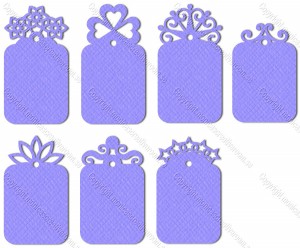
Fancy tags

It’s cold outside so I’m rather spending my time at the computer than to freeze my butt off by working in the garden.

Here are two new files with seven fancy tags in each.

Fancy_tags_1

Fancy_tags_2

You can find the new files here.

/Monica

6 Comments

Three hearts

In recent times, I have made so many new card designs but now it’s time for something else.

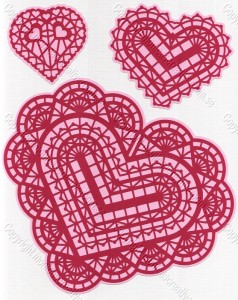
Here are some new heart designs. Hope you like them!

You can find the new file here.

/Monica

Three_Hearts

7 Comments

Some more new cards

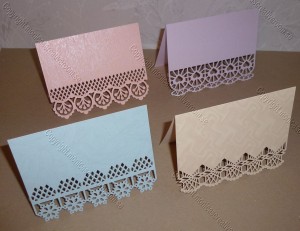
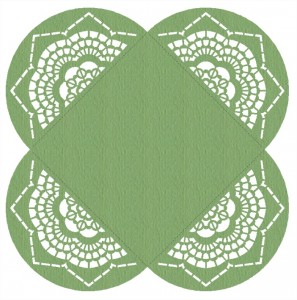
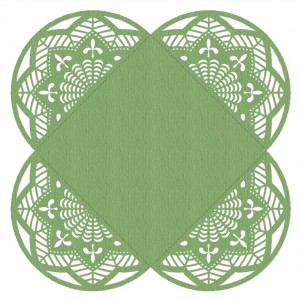
Here are six new cards. The size of the cards in the files is 4.25 x 5.5″ when folded, but you can cut them smaller if you want. I used A5 cardstock when I cut these out so I had to shrink the designs to get them to fit.

Fancy_Edge_Card_5-6-7 Fancy_Edge_Card_8-9-10

You can find the new files here.

/Monica

4 Comments

Summer is ending and finally I have had time to make some new designs

Harvest

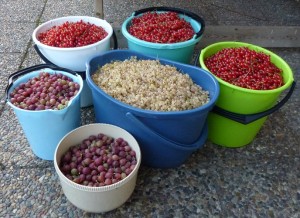
This summer I have been busy as usual with all things to do in the garden. I have harvested a lot of tomatoes and cucumbers from the greenhouse. I have made lots of pickled cucumber! The carrots are so sweet and tasty and the salad is crisp and nice. Last weekend I picked red and white currants from our three currant bushes. There where not that much berries in the white one but the two red ones had lots of berries. I also picked gooseberries. Here is a picture of the harvest.

P1010651

During the next two days I made juice of all the berries. Lots of bottles!

Building a shed

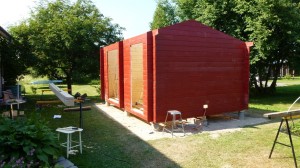
We have also spent much time building a new storage shed. The old one was too small to store all the garden tools in. We definitely need a bigger one. We started building during our summer holiday and of course the weather made it hard for us. It was too hot! Now when the summer holiday is over, we still have some work to do on it before it’s finished.

P1010573


New designs

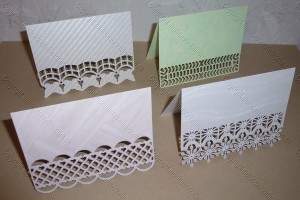
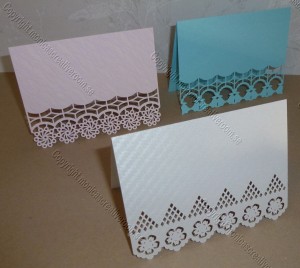
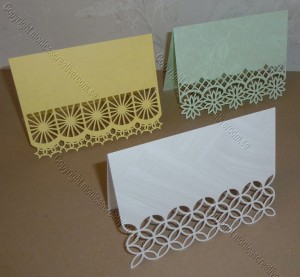
After a long break (as usual during the summer), I now feel the creativity is returning. This time I have made some simple card designs with cutouts along the edge.

I will make more of these later.

Fancy_Edge_Cards_1-4

You can find the new files here.


/Monica

3 Comments

What cardstock to use when cutting intricate designs

My designs are pretty intricate so you need a crisp paper and not to thick, 65 lb is perfect. I love the WorldWin cardstock like the ColorMates. It cuts like butter and are perfect for intricate designs but any similar paper should work. Always use a sticky mat so the cardstock doesn’t move when cutting and be sure your blade is sharp.

The settings I use when cutting with my Silhouette Cameo

Blade set to 2 or 3 depending on how new my blade is.
Thickness 30
Speed 10 (Yes, I always cut on max speed!)

I can’t recommend the cutting settings for other machines because I don’t have any experience with these.

How intricate can I cut?

When I draw a design, I always have in mind that I want it to cut well in most cutting machines. Therefore, I try to make the lines not too thin and inner angles not to pointy. If I only should consider what my Cameo is capable of, I would be able to draw even more detailed and delicate designs. But I know that not all machines are as good as my Cameo.

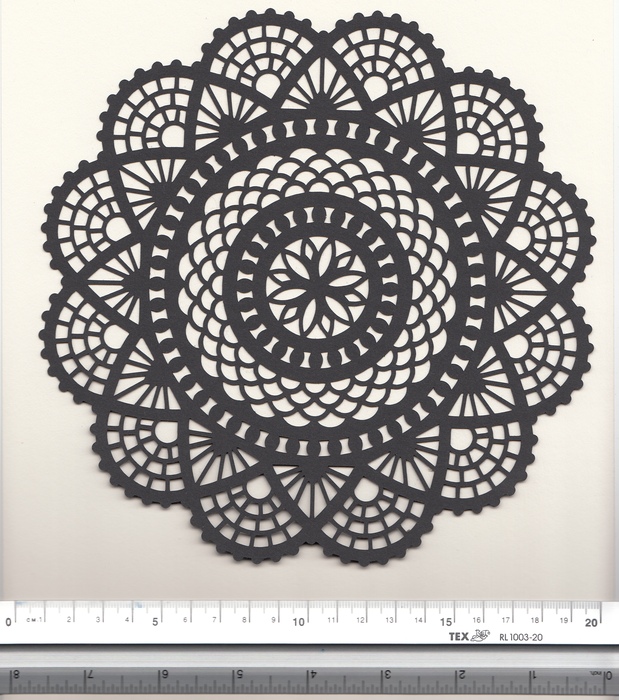
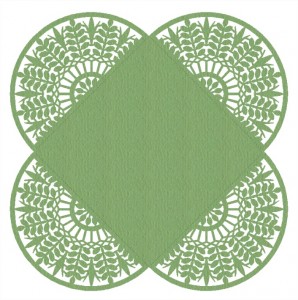
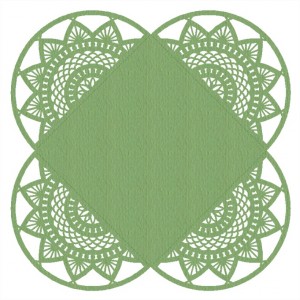
I recently made a test cut on one of my doilies (Layered Doily 56) to see how small I could cut it. Here you can see the result:

First cut. Original size. The doily measure just over 7.5 inches (19,5 cm) in diameter.

7,5″

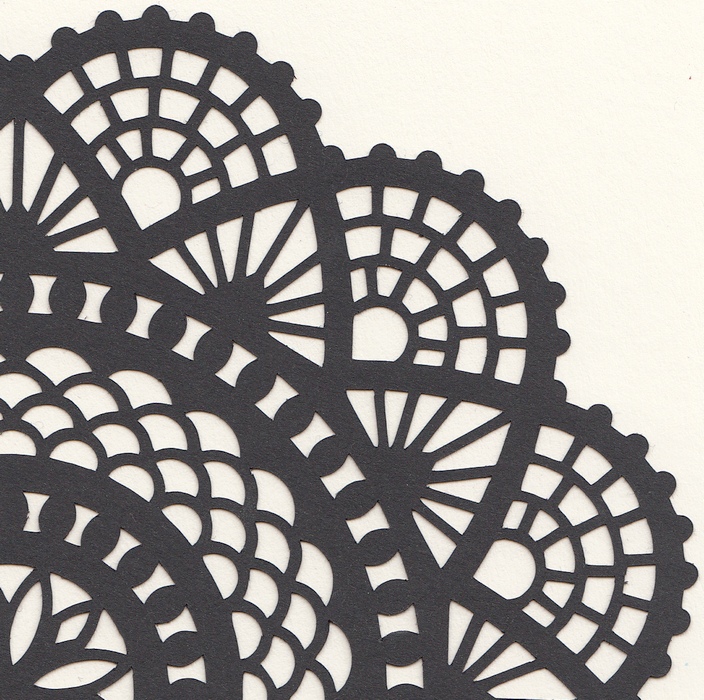
Close up on the first cut. Nice and clean. No weeding was needed, all the small parts stayed on the mat when lifting off the design.

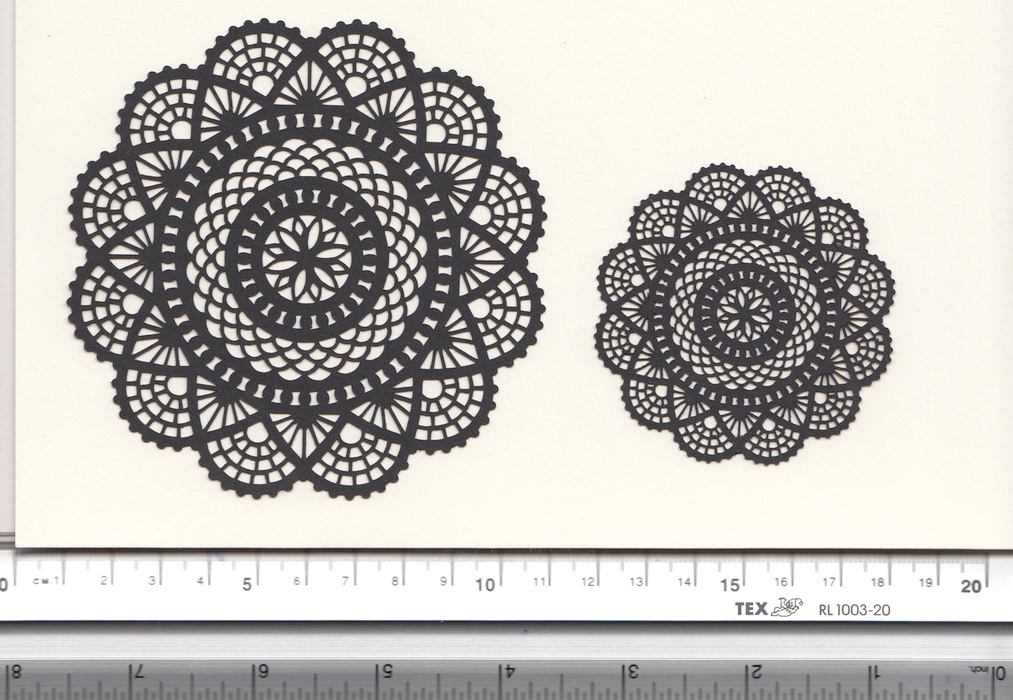
Here are the two next cuts. The one on the left measure 4 inches (10 cm). The one on the right only 2,5 inches (6,3 cm).

4″

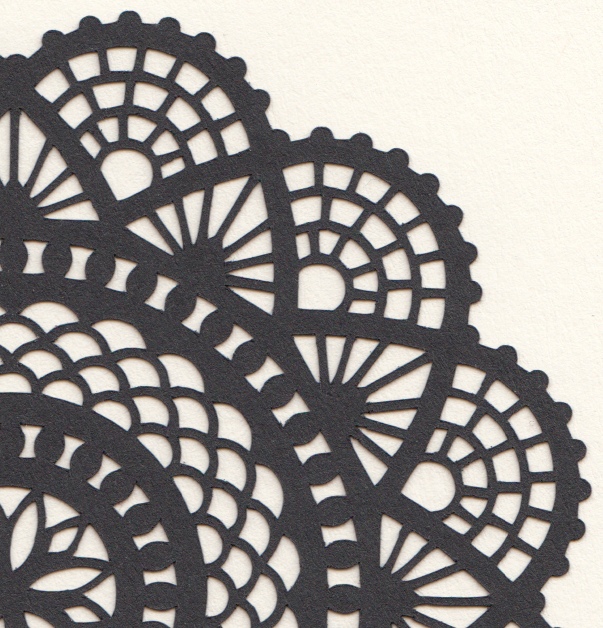
Close up on the second cut. Still nice and clean. Only a little weeding was needed.

2,5″

Close up on the third cut. Here you can see that the edges are slightly shaggy but you never notice it when looking at it in real. It’s so tiny so it looks just fabulous when holding it in your hand.

This size took a little bit longer to weed.

I think it’s amazing that you can cut the design so small and still get a great result.

The result shows that if you have a good cutter, you should be able to cut most of my designs much smaller than the size they are in the files.

/Monica

14 Comments

Preparing for summer!

I have been busy working in the garden during the latest weeks. The snow has melted and the birch leaves has just sprouted and are tender green. The spring has arrived and soon the summer will be here. Today its warm weather but cloudy and some light raining. Daffodils, cowslips and some other early flowers are in full bloom.

Today I have brought all my summer plants out of the greenhouse for the first time. I will be carrying them in and out during some days now to acclimate them to the sun. In about two weeks I should be able to plant them out in baskets, boxes and in my flower beds. Then the risk for frost in the nights will be over.

The first mosquitos have also arrived. How I hate them! It’s almost impossible to be outdoors when it is much mosquitoes. Yesterday, I ordered a Mosquito Magnet Patriot. Hopefully this summer will be mosquito free!

Hugs
Monica

P1010463 P1010469 P1010464 P1010465 P1010467 P1010473 P1010466

2 Comments

More cards…

Edit: Hmm. I saw I had posted the wrong picture of one of the cards earlier. I’m sorry about that, the picture of the first card in previous post is corrected now.

Here are the last cards for this time. 🙂
You can find them for downloading at the bottom of the page here.
Enjoy!

Monica

Four_fold_card_23 Four_fold_card_24 Four_fold_card_25 Four_fold_card_26 Four_fold_card_27

7 Comments

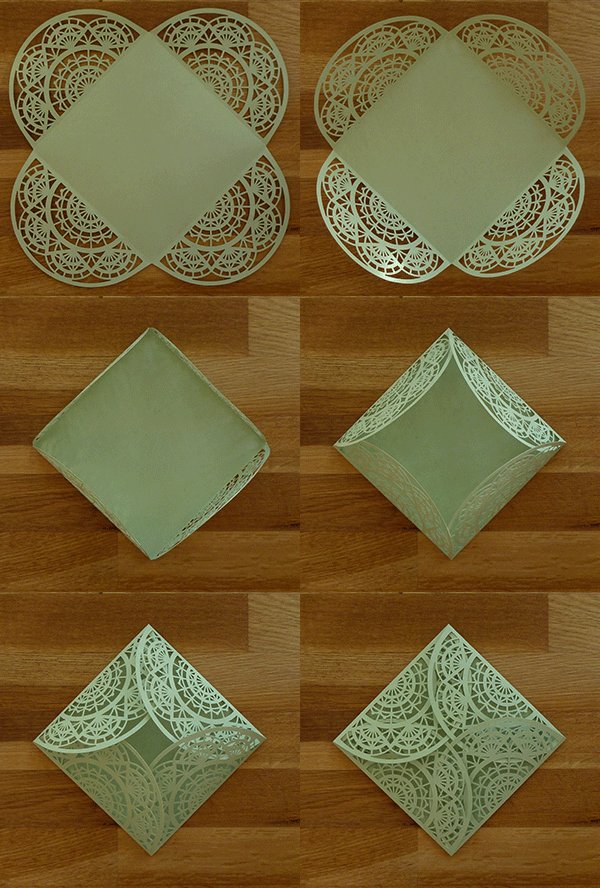
Some new Four Fold Cards


Animering-300


Before Christmas I was working on a bunch of new four fold cards, but I had so much else to do so I completely forgot about them. I do not understand how that happened but recently I found them again. Now I have finished them for you. 🙂

I will post them in two batches. This is what the first batch look like and you can find them for downloading at the bottom of the page here.

Four_fold_card_17 Four_fold_card_18 Four_fold_card_19 Four_fold_card_20 Four_fold_card_21 Four_fold_card_22


11 Comments

File formats and more…

File formats

I draw all my templates in AutoCAD as it is the software I’m most accustomed to work with and I have not found any other software that is as competent as this.

From AutoCAD I export a dxf file. The dxf file is the base for all the other file formats for each design I make. The file conversions takes quite a long time because there are many software I use for this.

Currently, I provide seven different file formats for you to use. This is so that as many people as possible should be able to use my designs in their cutting machines.

After I changed the OS on my computer, my KNK software doesn’t work anymore. It seems like it’s the dongle that is the problem. I have taken the decision to no longer provide knk files because of this. I do not see it as a problem as the KNK software is able to import both dxf and gsd files.

However, I have decided that I will start providing pdf files for those who do not have a cutting machine so they can print the template and then cut out by hand. This applies only to new designs.


And more…

Many times I have been asked why I do not sell my designs. I know I would earn much more money on my designs if I sold them than what I get via donations. But I’m not interested in selling, it’s too much work to administrate and I do not think it is worth all the trouble.

I don’t draw my design because I need them I draw them because I think it’s fun, and I rarely use them myself. I’m so happy when I see that others appreciate what I do. Often this is enough as payment for my work.

Of course, I appreciate all the donations I receive. These helps me to keep running my website and pay most of the costs for software and consumables used during the design process.

Happy cutting!

Monica


17 Comments

Gazebo no. 7

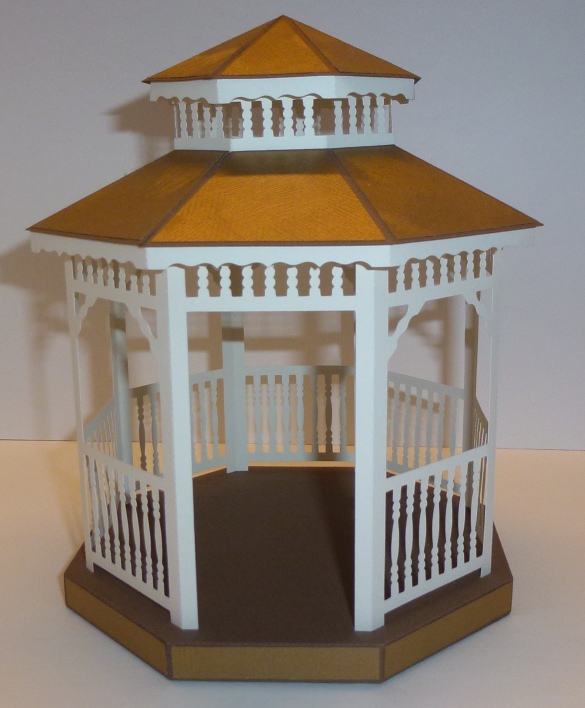
This is the last gazebo, at least for now. Maybe I draw more variants another time.

The roof parts are quite tricky to glue together.

Be careful to center the parts properly.

You can find the file here.

11 Comments

Gazebo no. 6

This is an oval-shaped variant of number 5.

Use the assembly instructions for Gazebo number 2 and the added pictures below.

You can find the file here.

3 Comments

Gazebo no. 5

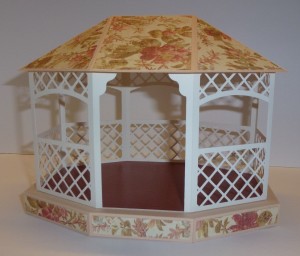
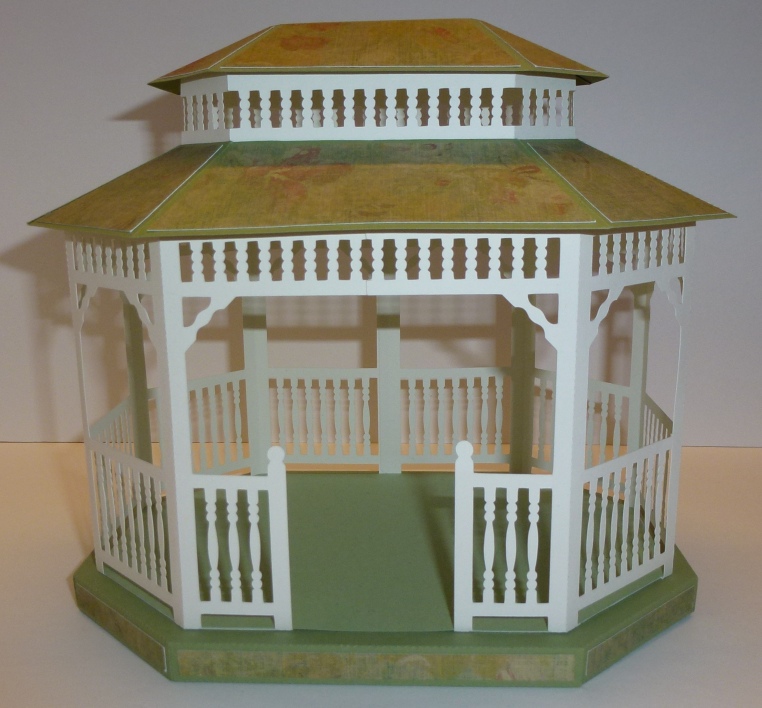
This gazebo is very similar to no. 2. On this, I haven’t made any separate inner floor. The corner posts goes through the base and are glued on the underside. I don’t know if you think this is trickier than the others but I wanted to try this.

I have added some pictures as it is a slightly different design. Use the assembly instructions on Gazebo no.2 for the rest.
You can find the file here.

5 Comments

Gazebo no. 4

Yet another model. A more oval-like shape.

Hope you like it!

Look at Gazebo no.2 for assembly instructions, they are much similar.

You can find the file here.

Gazebo_4


3 Comments

Gazebo no. 3

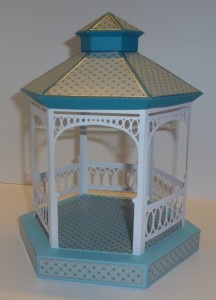
This time I have done a hexagonal version. The roof is a little bit different than the other ones.

The assembly on this one is quite similar to the previous two, so I do not think you need any new instructions for this.

You can find the file here.

Gazebo_3

9 Comments

Overloaded!

Hopefully we have fixed the problems with the website. It got a bit overloaded at times which made it difficult to download files. I have upgraded the server, and I hope it will work without problems now.

No Comments

Gazebo no. 2

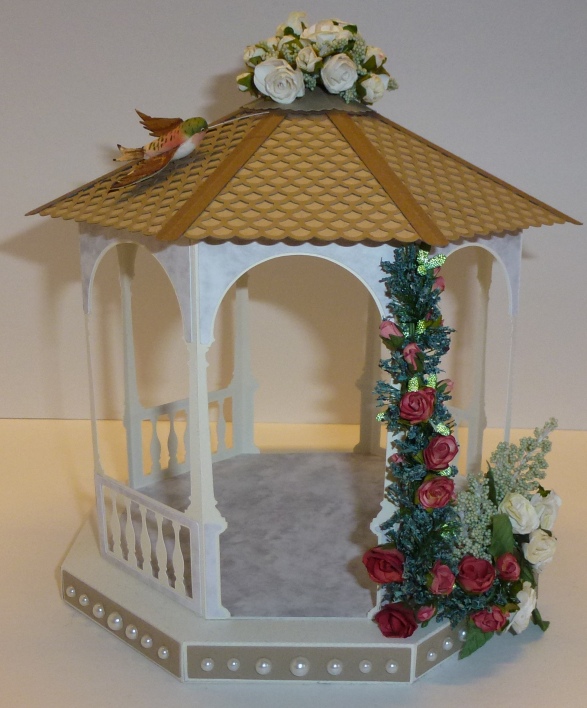
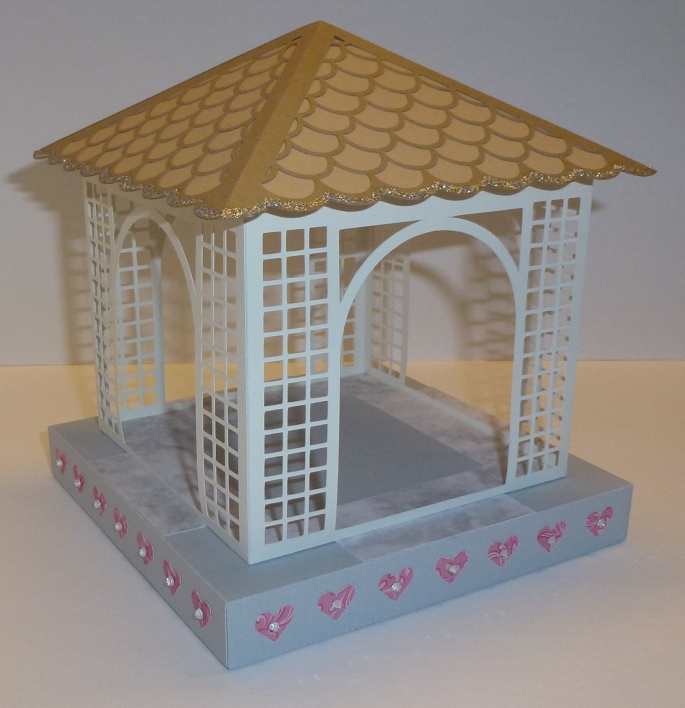
Here is the second 3-d file, one more gazebo!

I hope you like gazebos because there will be more of them later. I have made in total seven different gazebos but I don’t have all the files ready for them yet. It takes a lot of time to prepare all the different file formats on each design.

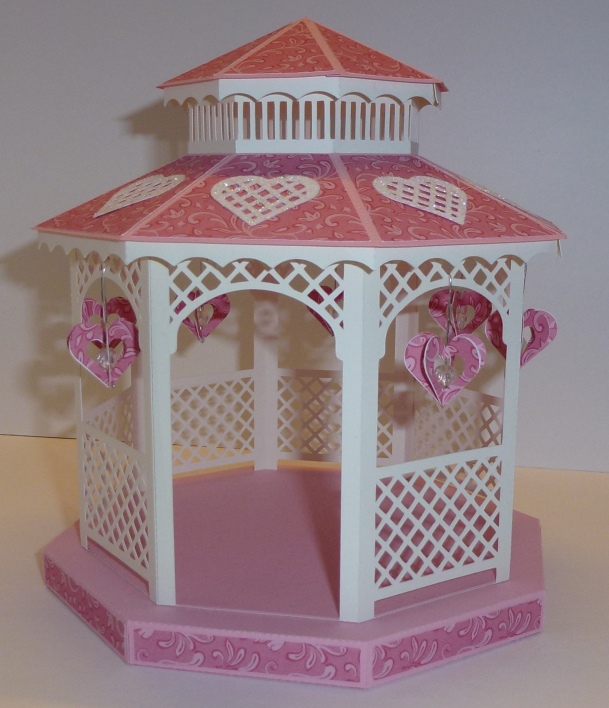
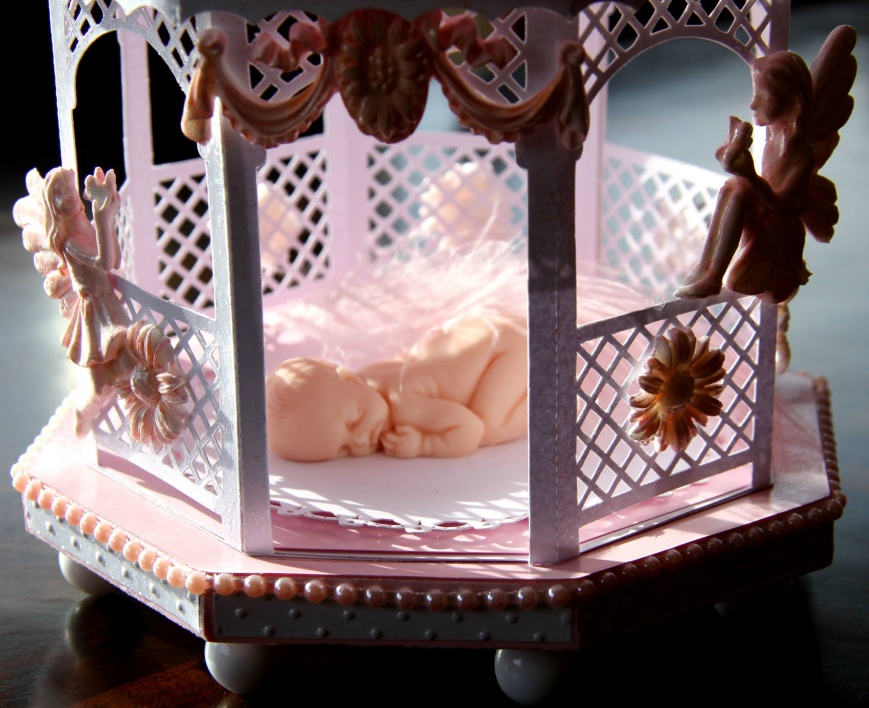
This gazebo is a beauty, I have made it in pink and with lots of hearts. I think it would look great with a silhouette of a wedding couple inside.

You can find the file here.

And here are two pictures of this Gazebo made by one of my Facebook friends. Isn’t it just gorgeous!

23 Comments

I hope you like my new website!

There have been some tough months of anguish and work to get my new website ready. I could never imagine that it would be so much work to fix this. Hundreds of files and hundreds of images had to be moved to the right place. My library with cutting files have become so extensive that it feels like it has taken forever.

As I work full-time (as cad/cam engineer at a company that manufactures safety parts for cars), I have not had much time during the weeks to work on this and during the weekends you have to do other things too, like spending quality time with the family, cleaning and washing. 🙂

Fortunately, I have had great help from my daughter’s boyfriend. Thank you Johan for all the help! Without him, this would not have been possible.


If you find something not working as it should, please let me know and we’ll try to fix it.

When we see that everything is working as it should, we will automatically redirect traffic from my old website, but until then both websites will be working.

27 Comments

New 3D file: Gazebo

I know you have been waiting for this for a long time. May I present the first 3D file of several that I have designed while working on my new website. The next design will come in a day or so.

I hope you will like it. You will find the file here.

11 Comments

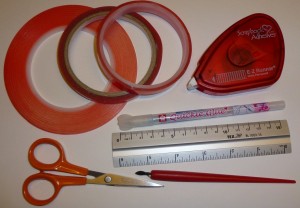
My favorite tools and adhesives when assembling 3D models.

When assembling 3d models you have to have a glue enough strong to hold the parts together. I prefer to use adhesive tape prior to wet glue because I do not like to wait for the wet glue to dry and wet glue can make cardboard wavy if you use too much.

Adhesive tapes are available in different varieties. You need one that is extra strong for it to hold. For small or thin parts a glue pen is perfect.

I use the ruler mainly to scrape off small pieces from the cutting mat, not so often for measuring.

P1010423

3 Comments